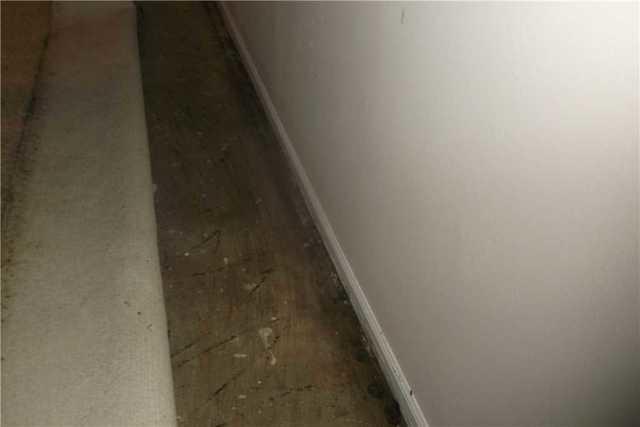
Pulled Back Carpet Reveals Water Damage
The extent of the water damage can be seen when the carpet is pulled back and it's evident that the water has been present long enough to begin to warp the floor.
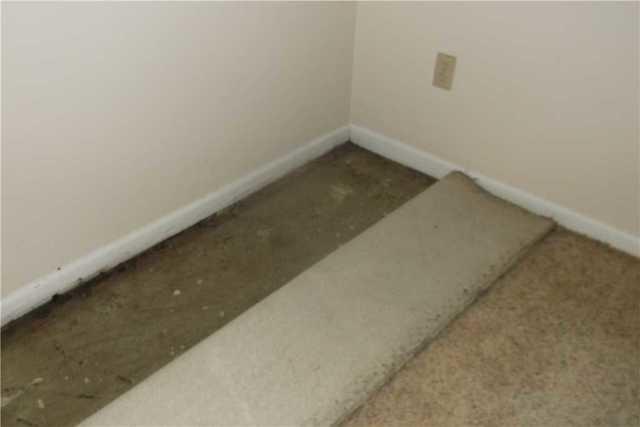
Water Damaged Floor in Kalamazoo Basement
Although the owners claimed the water problem must have been new and was caused by a faulty sprinkler outside, the extent of the damage says otherwise.
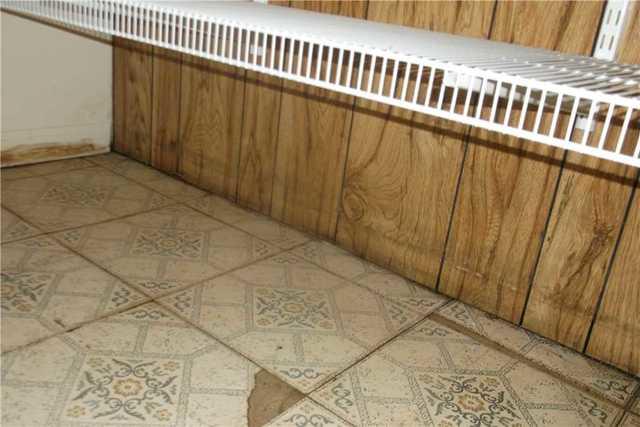
Water Damage on Multiple Walls
The fact that there was water damage on multiple walls also shows that there is an underlying problem much bigger than a sprinkler.
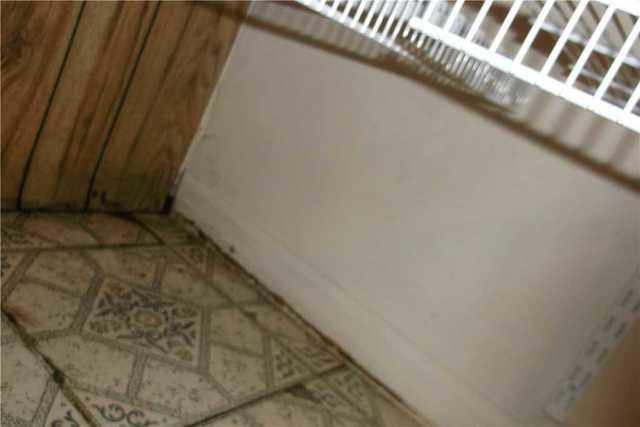
Warped Walls and Floors in Wet Kalamazoo Basement
The walls, floors, and baseboard are all warped and show signs of mold in addition to water damage.
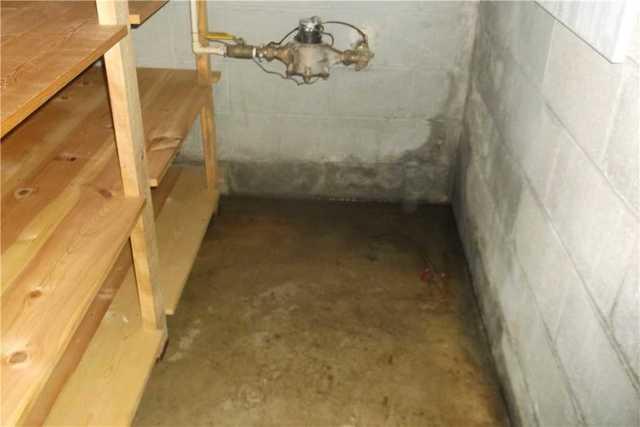
Extensive Water Damage in Kalamazoo Basement
Clearly one of the more affected areas, this corner of the basement is a popular spot for standing water to accumulate.
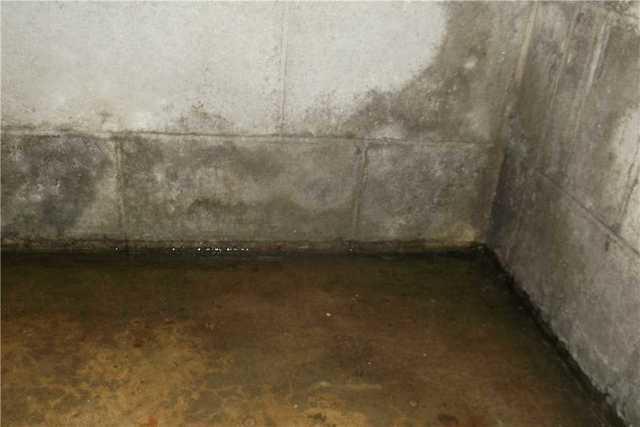
Closeup of Water Damaged Corner
This corner particularly had signs of mold and the beginning of degrading blocks, which could eventually lead to foundation issues.
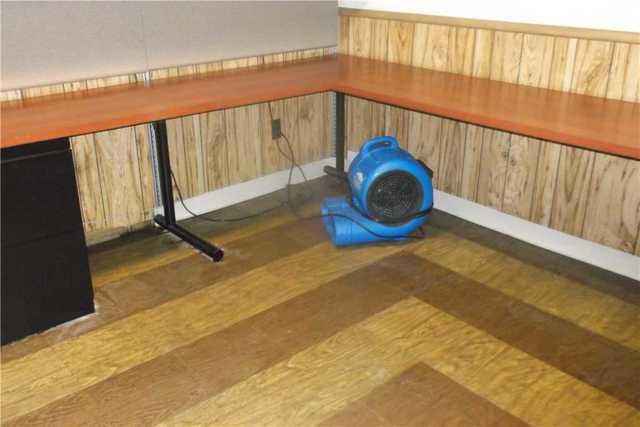
Ineffective Drying Solutions for Wet Basement
Fans like this might eventually dry out some of the water in your basement, but it will take a long time, and also won't solve the underlying problem.
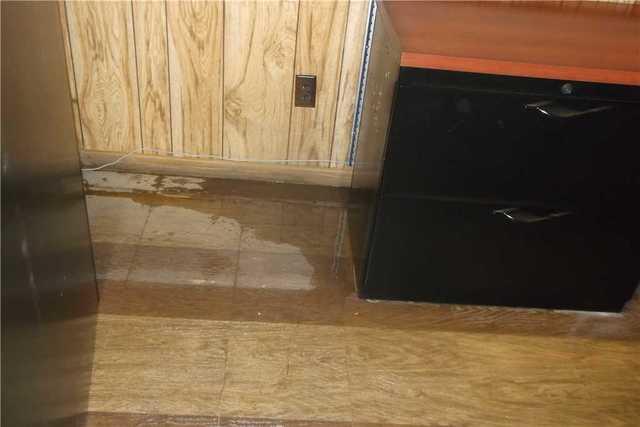
Pooling Water in Wet Basement
When a basement has this many areas with pooling, standing water, it's clear that it needs a full basement solution like our WaterGuard below floor drain.
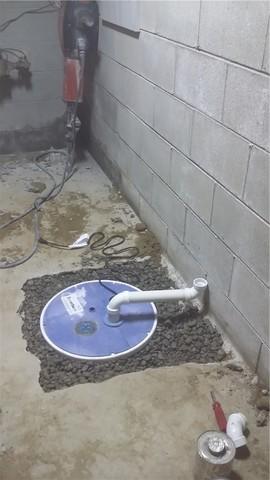
Super Sump Pump Solves Standing Water Problem
By installing a sump pump, which will actively remove the water from the basement and discharge it outside, the issue of standing water is fixed.
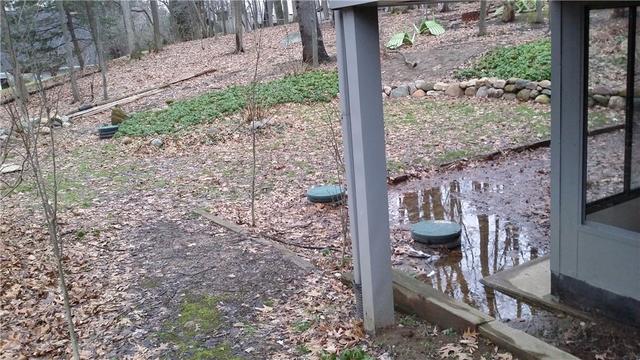
Murky Backyard Sheds Light on Water Issue
With this kind of standing water in the backyard, it's no wonder the basement has water issues. While it might be difficult to change the water table and the soil absorption around your home, you CAN take steps to ensure the water entering the basement has an effective path out.
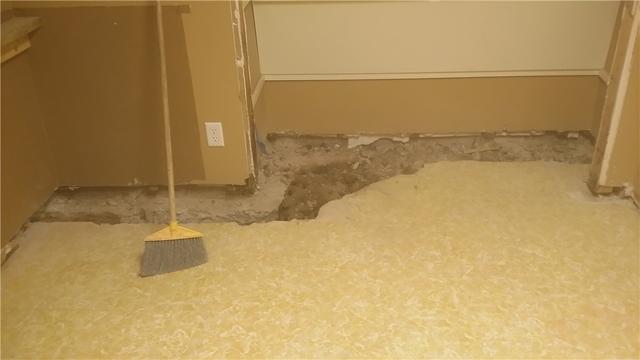
Cutting Away Floors for WaterGuard Installation
In order to install the WaterGuard system, we need to cut away the perimeter of the floor. After installation, we pour new concrete to fill in the floor.
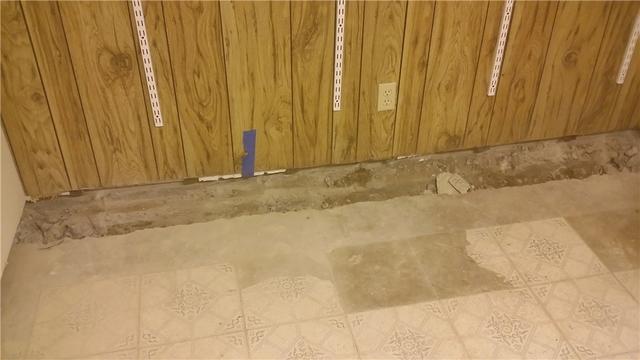
Removing Floor for WaterGuard Installation
In some instances, we will also need to cut away a portion of the wall to install the WaterGuard system, due to it protruding over the floor. Here, we were able to leave the paneling in tact.
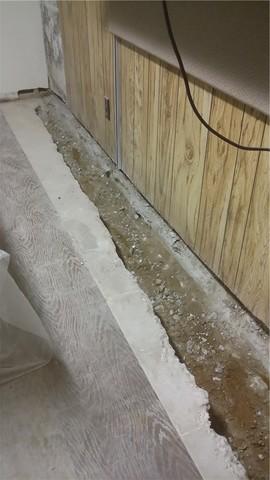
Cutting Through Multiple Layers of Floor to Install WaterGuard
In this case, there was a wooden subfloor on top of the concrete slab. We cut through both layers to install the WaterGuard.
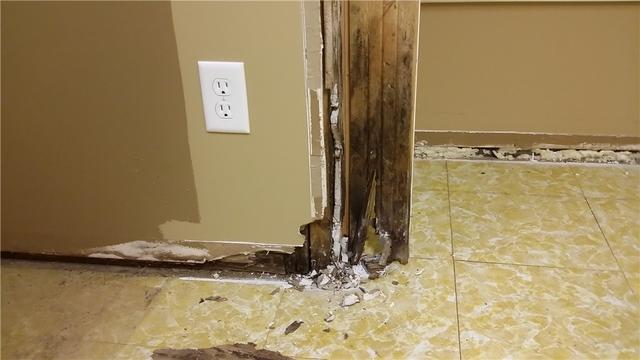
Water Damaged Wood Illustrates Severity of Problem
This beam is wrecked for the first few feet from the floor. The beams behind the walls are also deteriorating, as shown here. This water problem has been around for quite a while.
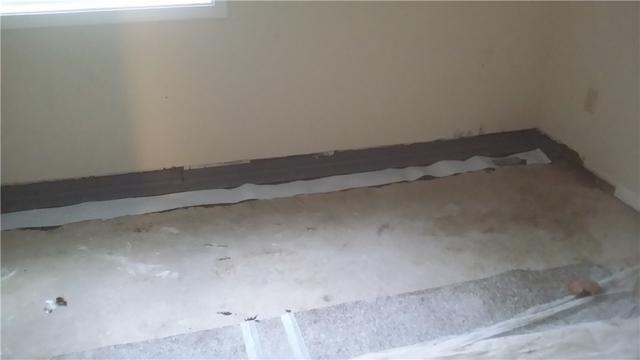
WaterGuard Installation in Progress
After the floor is cut away, drainage stone is poured and the WaterGuard track is laid down.
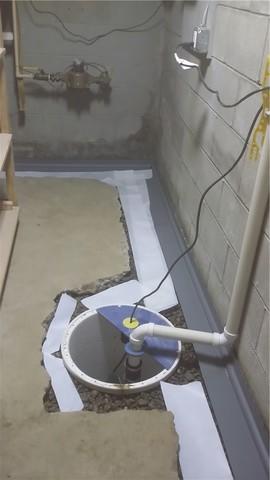
WaterGuard Tied into Super Sump for Effective Discharge
We tie the WaterGuard track into the sump pump to ensure that all of the water makes it to the pump and eventually the yard.
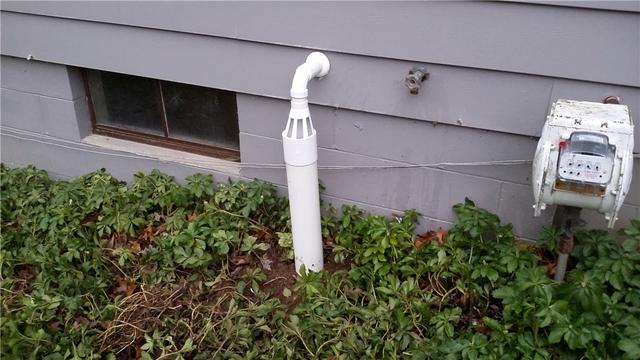
Discharge Line with IceGuard
The new discharge line (most of which is buried in the lawn and empties far away from the house) is outfitted with our IceGuard system, which is a fail safe in the event the line freezes.
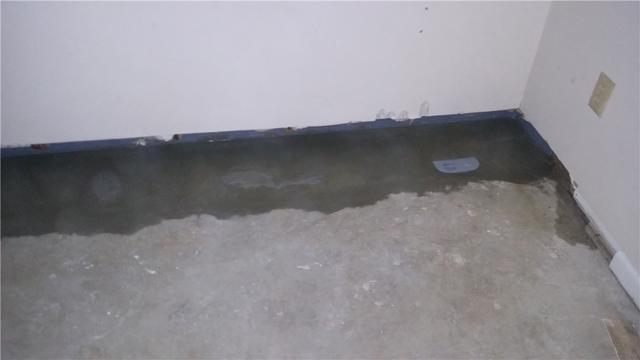
WaterGuard Installed with Inspection Ports
Here is the WaterGuard system after new concrete is poured. We install inspection ports in the event that the drain becomes clogged or otherwise needs attention.
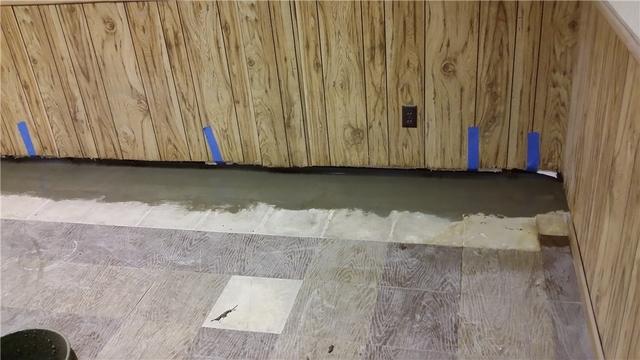
Floor Restored After WaterGuard Installation
After the WaterGuard system is installed, we pour new concrete to restore the floor and protect the system.
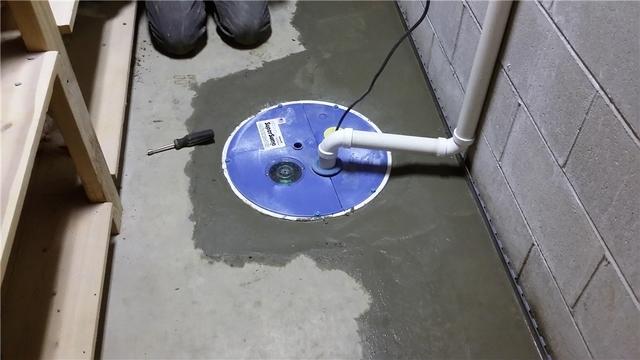
Super Sump Pump with Discharge Line
The new Super Sump pump is attached to a discharge line that carries the water outside. The entire system is tied into the WaterGuard installation to ensure that all of the water is funneled to the appropriate spot.


