Williamsburg, MI

Basement Waterproofing & Foundation Repair Williamsburg
Williamsburg is a northern Michigan community shaped by its scenic surroundings and easy access to outdoor recreation. From time spent on Elk Lake to exploring nearby trails or visiting Traverse City just minutes away, the area blends natural beauty with quiet residential living. But the same landscape that makes Williamsburg appealing—waterways, sandy soil, and changing seasonal weather—can also affect local homes. Homeowners often deal with wet basements, settling foundations, damp crawl spaces, and uneven concrete caused by shifting soil and moisture.
Permanent Solutions
Our Services
Williamsburg, Michigan's sandy soils and nearby waterways often lead to basement leaks, crawl space moisture, foundation settling, and sinking concrete around homes.
-
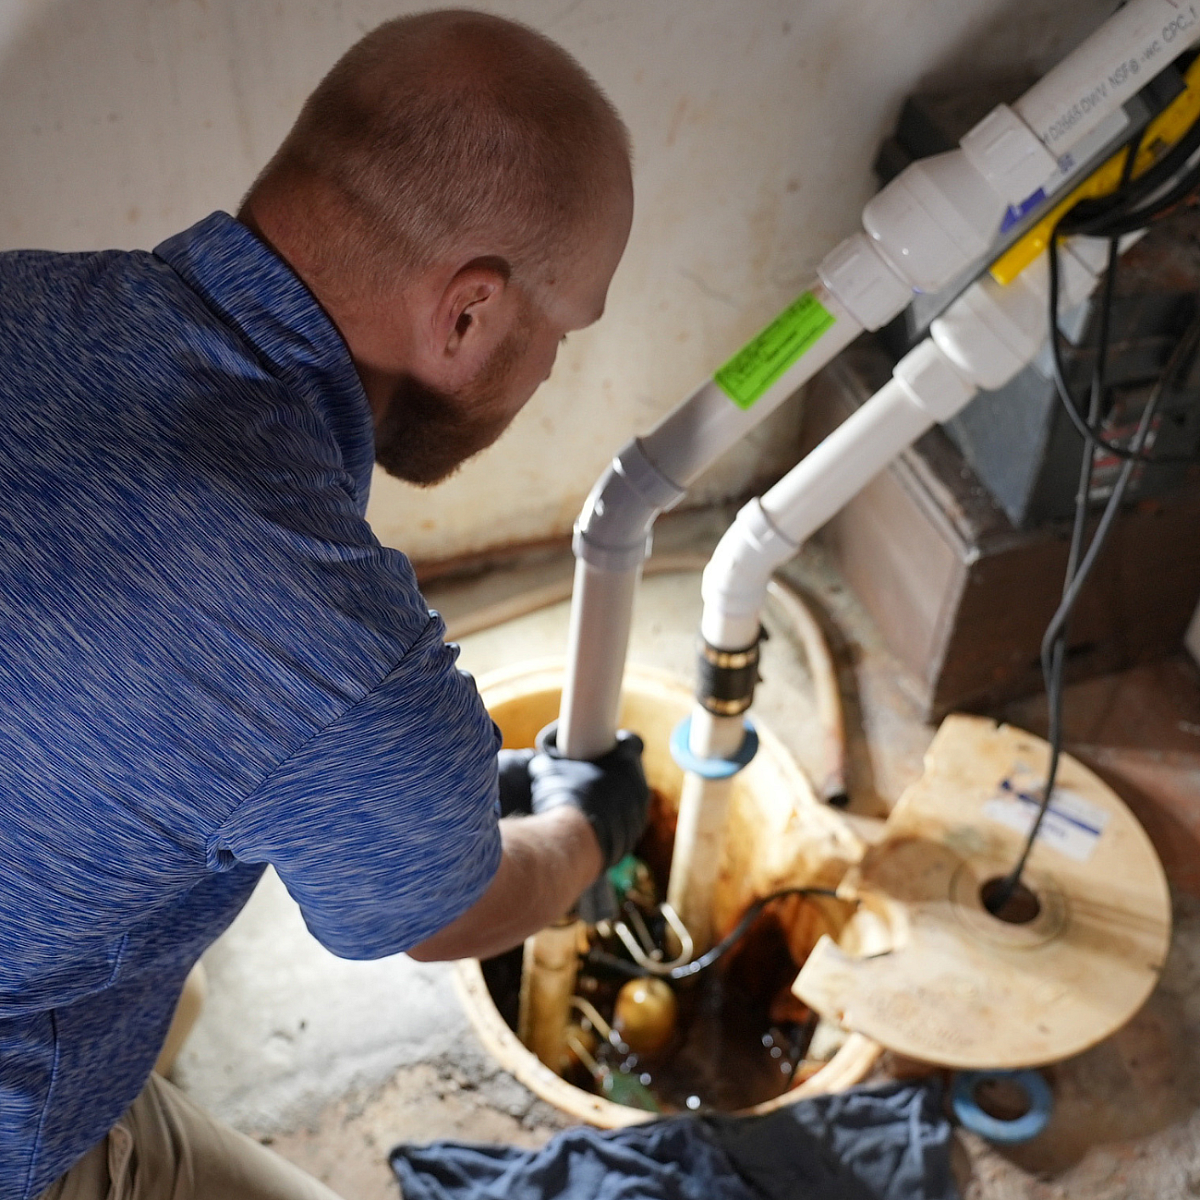
Basement Waterproofing
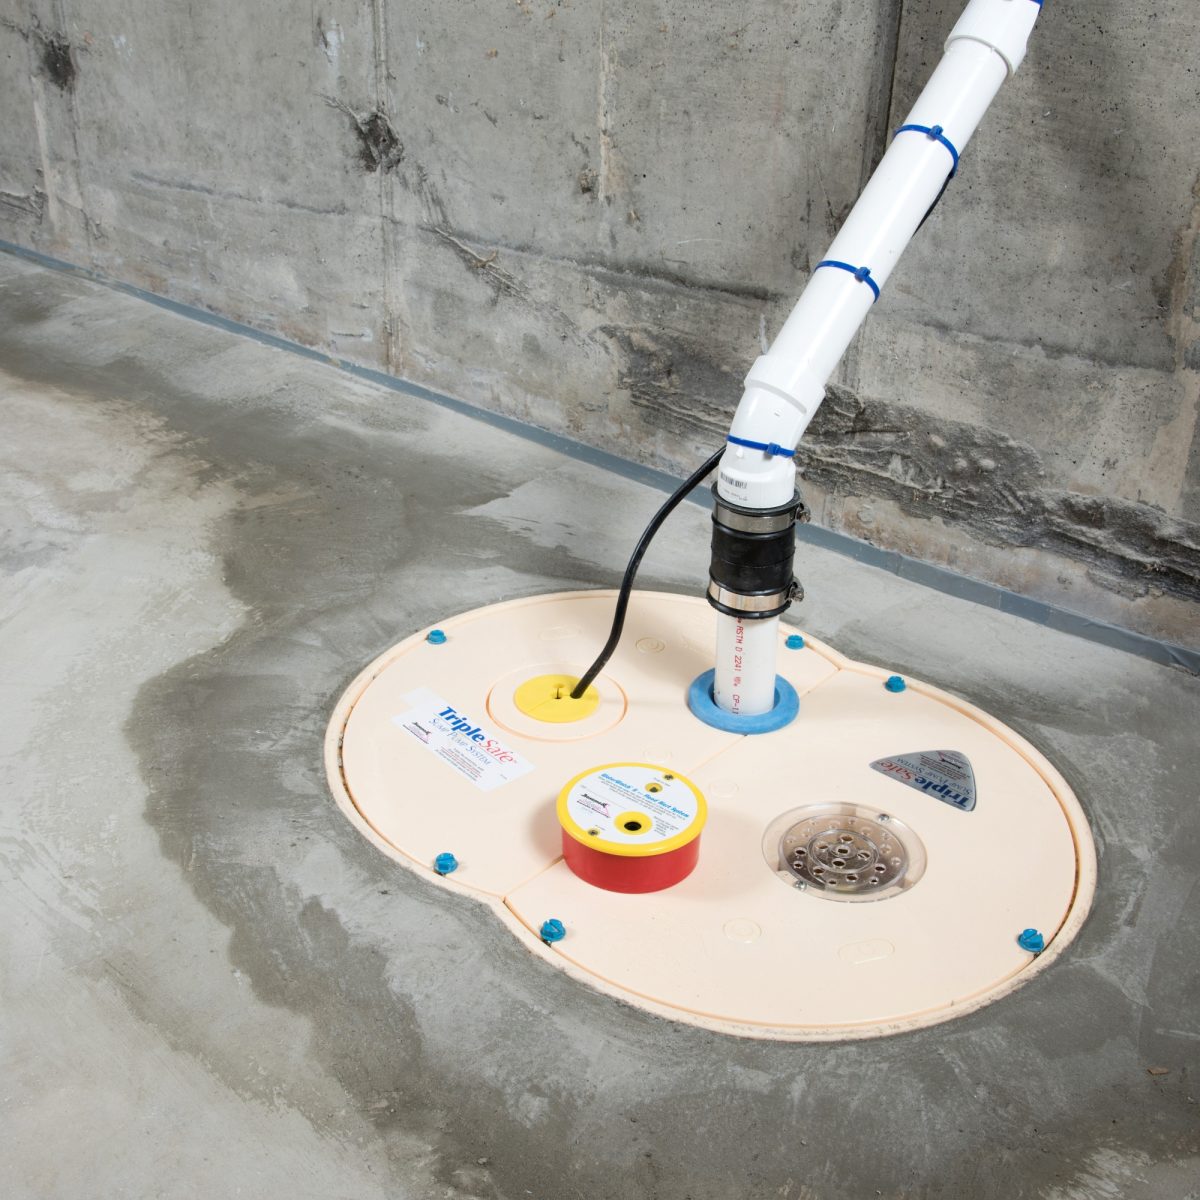
Basement Waterproofing
After heavy rain or melting snow, are you seeing water along your base…
-
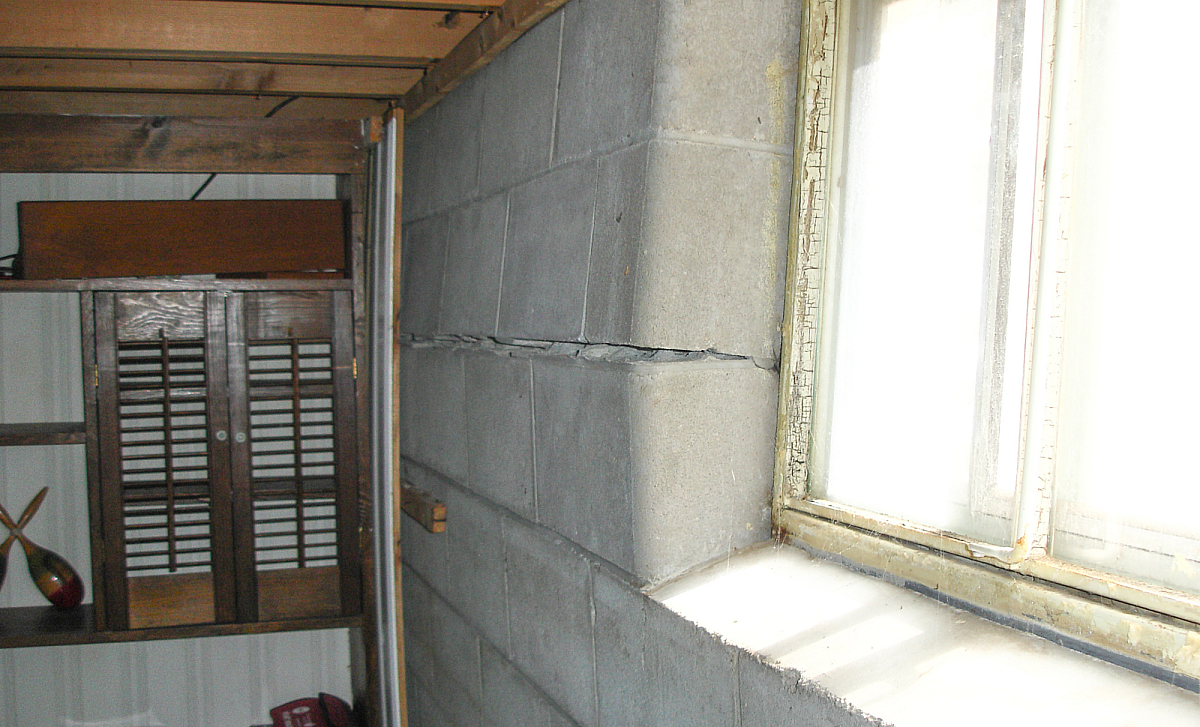
Foundation Repair
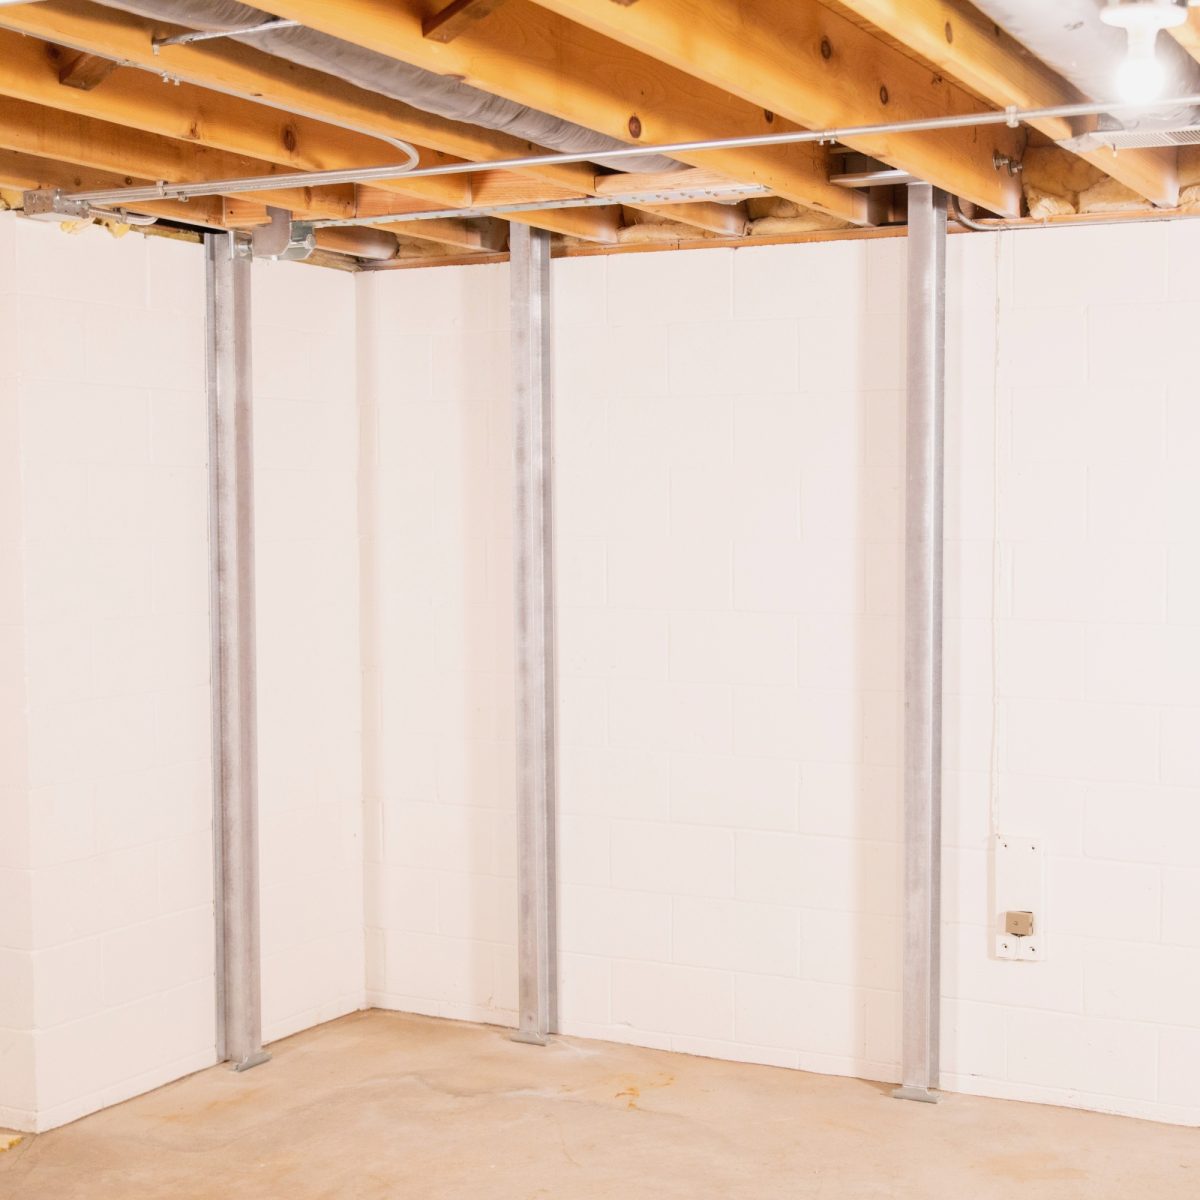
Foundation Repair
Are you noticing cracks in your walls or floors, doors that stick, or …
-
Crawl Space Repair
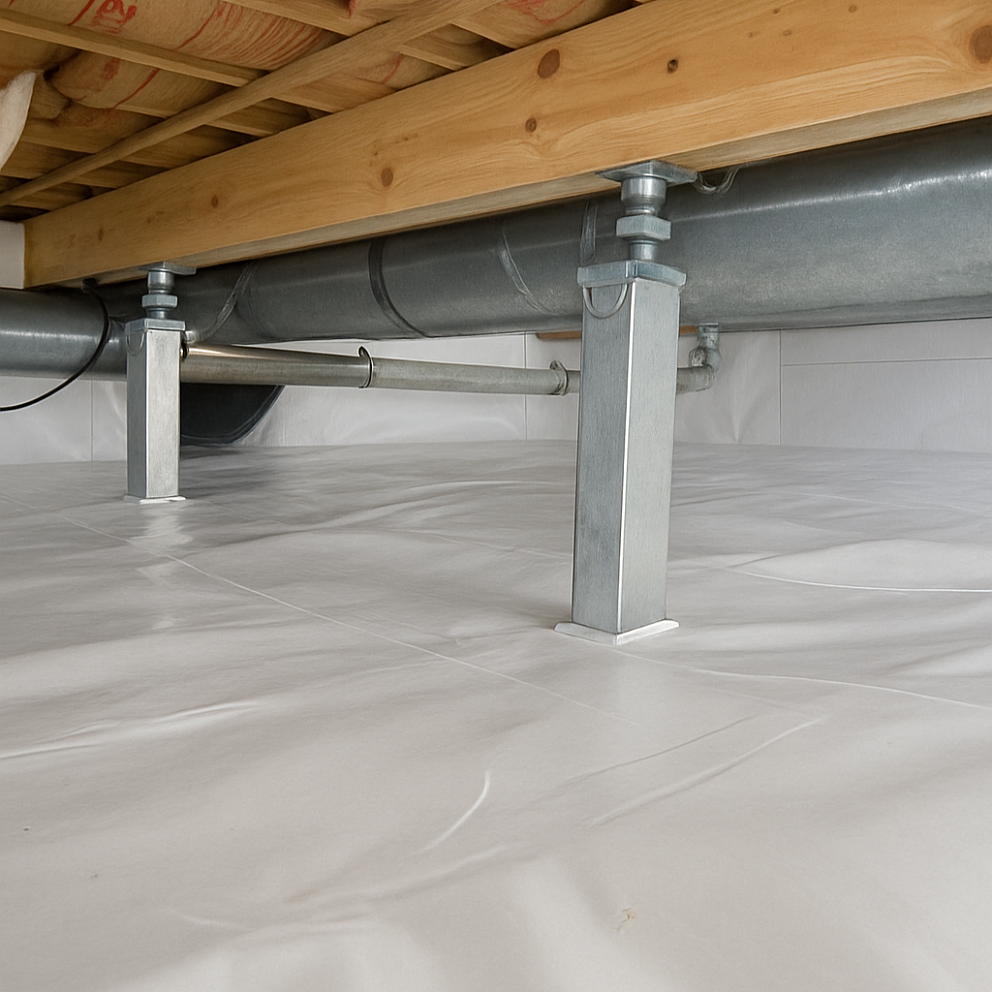
Crawl Space Repair
Are you noticing musty odors, excess humidity, cold floors, or sagging…
-
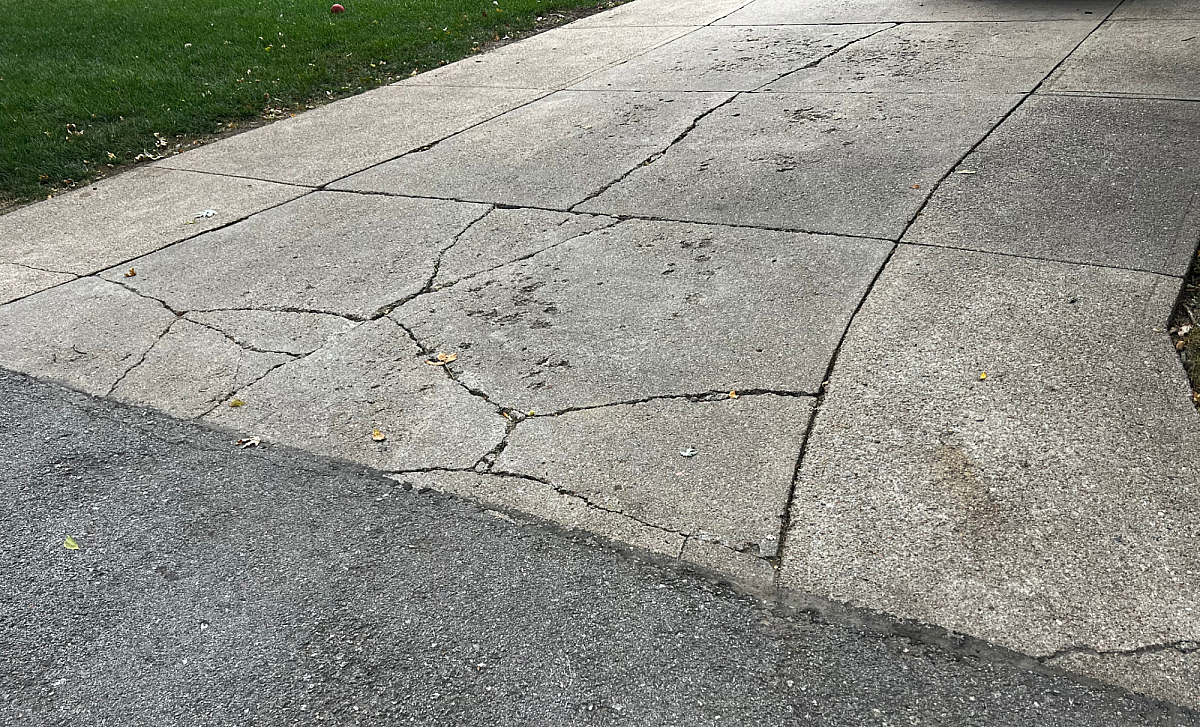
Concrete Repair
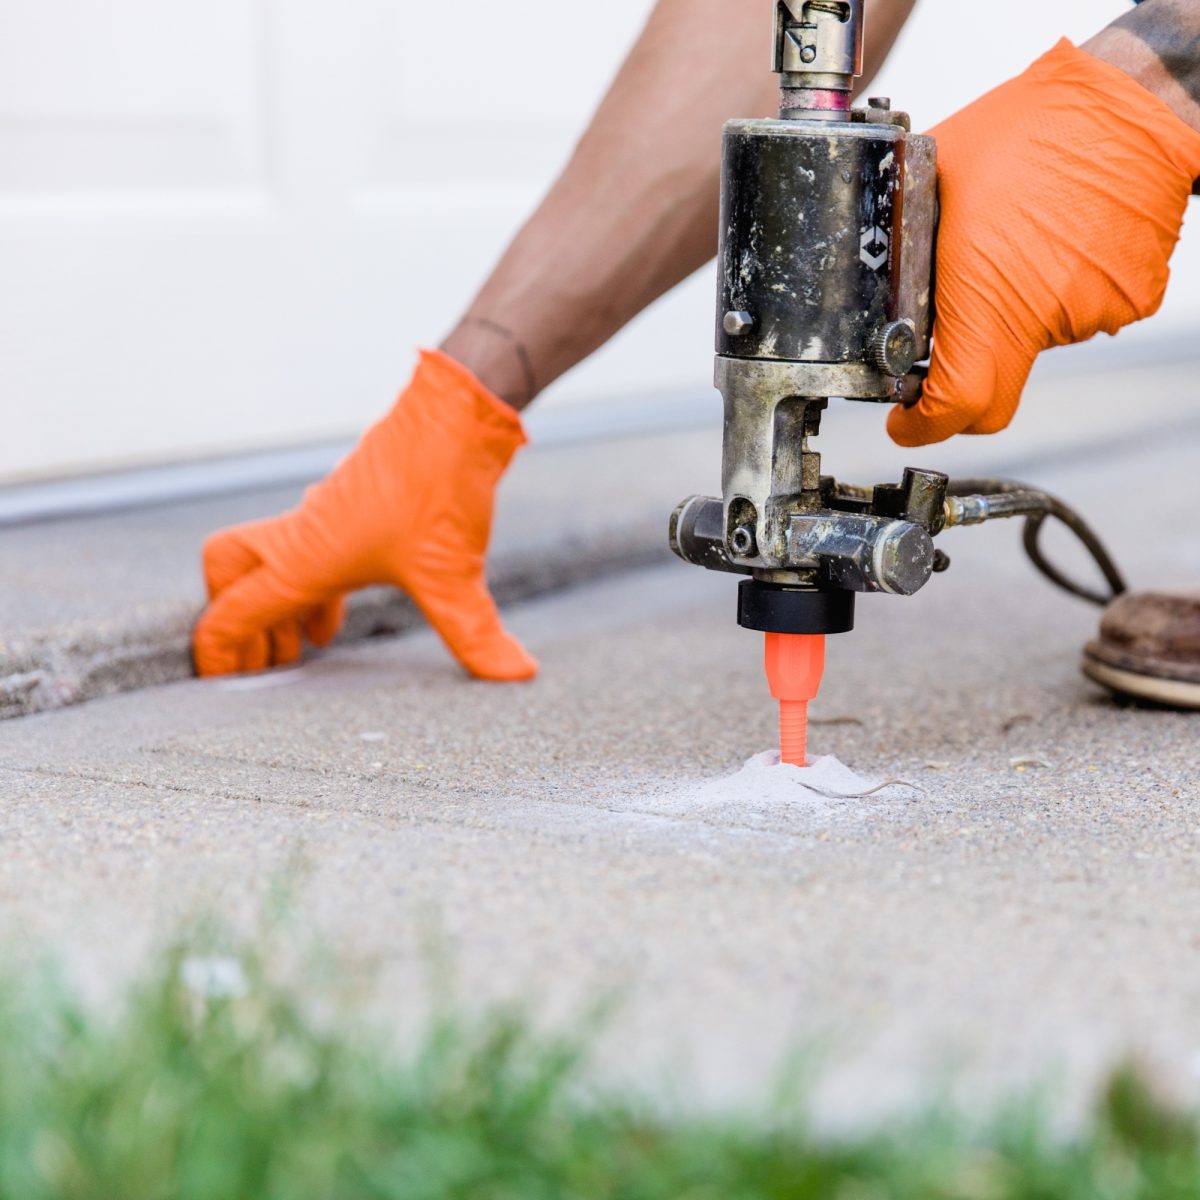
Concrete Repair
Are your concrete surfaces cracked, sinking, or uneven? Have you notic…
-
Egress Windows
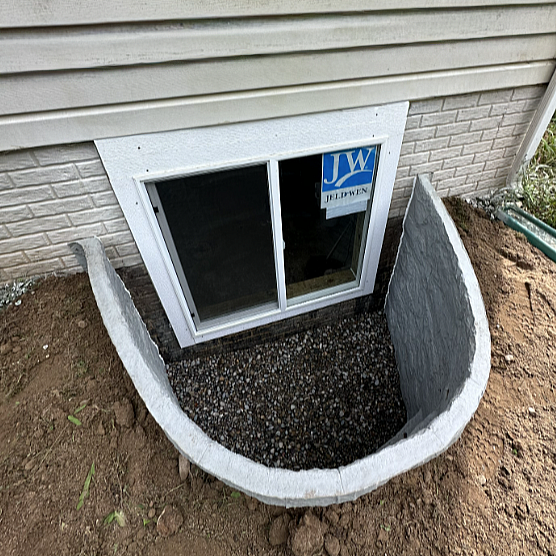
Egress Windows
Is your basement dark, enclosed, or missing a safe emergency exit? If …
-
AyersCare Club
AyersCare Club
Every system benefits from routine maintenance to perform at its best.…
-
Spring Savings Event

Spring Savings Event
For a limited time, you can save up to $750 on your project when you b…


Get a free estimate
Fill out our 3-question form to have Ayers Basement Systems contact you shortly.
Or, call 1-866-379-1669 to contact Ayers Basement Systems immediately.
Start your FREE estimate, hear back from us same-day.
-
Can Cracked Concrete Be Repaired Instead of Replaced?
Can Cracked Concrete Be Repaired Instead of Replaced?
At Ayers, we help homeowners in Troy, MI, not only lift and level their concrete, but also protect it with permanent joint sealant.
-
How Homeowners in Troy, MI Are Fixing Foundation Problems
How Homeowners in Troy, MI Are Fixing Foundation Problems
Is your foundation cracking, shifting, crumbling, or bowing? Learn what it means and how to fix it, permanently.
-
Why Heavy Rain Can Lead to Basement Water Problems

Why Heavy Rain Can Lead to Basement Water Problems
Heavy rain can overwhelm foundations. Learn why basements leak and how a waterproofing system protects homes from flooding and moisture issues.…


Your Local Experts
Ayers Basement Systems provides basement waterproofing, foundation repair, crawl space repair, concrete repair, egress windows, ayerscare club, spring savings event, and generators services throughout all of Grand Traverse County, MI, including addresses in the following Zip Codes and beyond: