Standing Water
The homeowners had water coming into their basement where the wall and the floor met on one side of the room. In the picture you can see the water pooling on the floor.

More Water!
Here is another picture showing more water pooling in the homeowners basement.

Existing Sump Pump
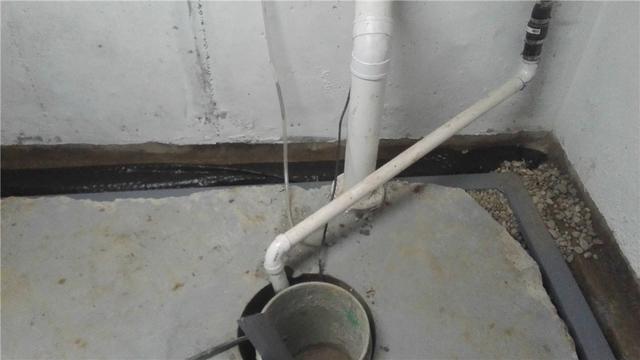
This picture shows the homeowners old sump pump. The sump pump was located on the opposite side of where the water was coming in. Since the homeowners did not have a perimeter drainage system, the water could not travel toward the sump pump and be removed from the home.

WaterGuards First Steps
The picture shows the first couple steps of a WaterGuard installation. Firstly a shallow trench is dug up along the perimeter of the basement for the WaterGuard to sit in. The system is installed up against the wall so it is able to trap wall and floor seepage easily.

WaterGuard
WaterGuard can be cut to fit corners perfectly and go around obstructions. The system also sits on the top of the footing in order to prevent clogging from mud or other debris.

WaterGuards Next Step!
Once the system is in place, it is covered with drainage stone to properly facilate water flow into the system and prevent it from getting clogged.

SuperSump
The WaterGuard system and the Super sump work together to waterproof the basement. The WaterGuard drain carries the water to the Super Sump, which removes it from the home. The SuperSump is a full featured system that includes the best components available. The system includes a sump liner and airtight lid, water alarm, check valve, pump stand, floor drain, and a float valve.

Final Step!
The last step to waterproof this basement is to cover the WaterGuard system with a new layer of concrete. Cover the system with a new layer of concrete gives your basment a nice, finished look. The basement is now clean and dry thanks to WaterGuard interior perimeter drainage system and the SuperSump sump pump!


