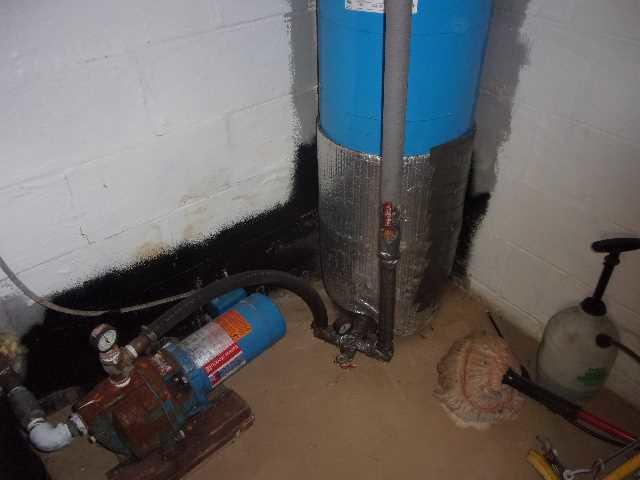
Basement Water Trouble Spot
Water was coming in at the corner of this basement with each rain. It was enough water to create a puddle about 4 feet out from the wall.
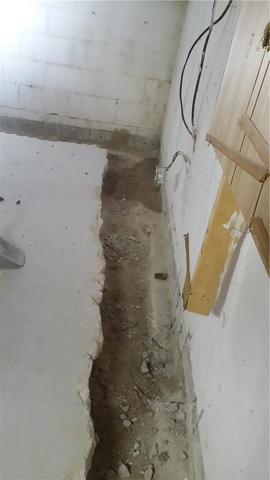
Concrete Excavated
We begin the WaterGuard installation by breaking out concrete around the outside walls, exposing the home's footer, and creating a shallow trench.
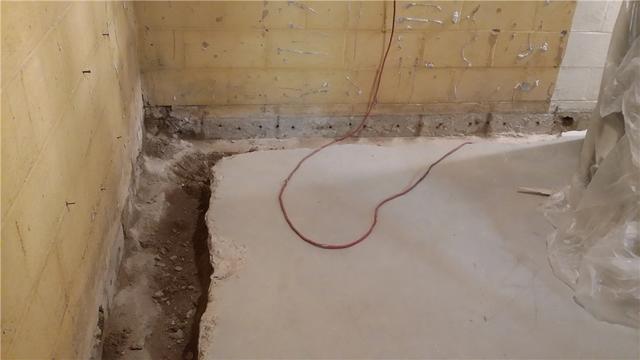
Weep Holes Facilitate Drainage
Moisture often builds up in the block walls. By drilling weep holes in the bottom of the block walls, it ensures that any of that moisture safely and easily filters right into the WaterGuard system to be removed from the home.
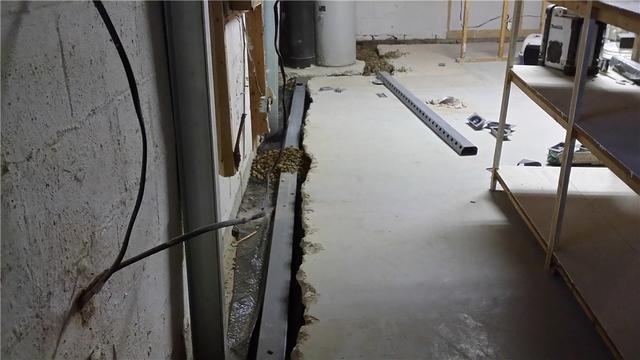
WaterGuard Set In Place
Once the trench is competed, the WaterGuard drain is set in place along the footer.
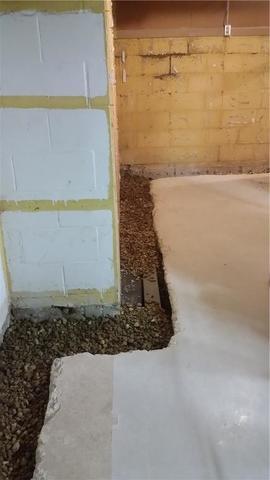
Drainage Stone Fills The Trench
Once the Water Guard system is in place and is properly leveled, we fill in drainage stone around the system.
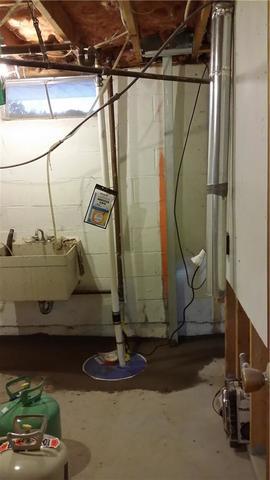
Sump System Features
This sump system features an airtight lid to protect against musty smells as well as a floor drain and a WaterWatch alarm that alerts the homeowner if the pump fail or isn't keeping up.
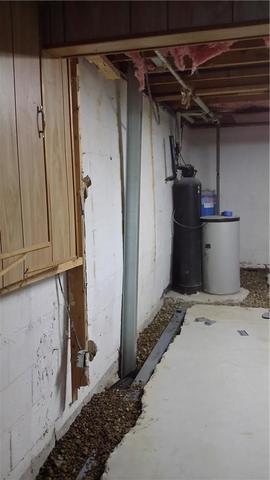
Bowing Wall Addressed
This picture really shows the severity of the bowing wall. PowerBraces are galvanized steel I-beams which will reliably prevent any further bowing. These extend from the floor joists all the way down to the home's footer and can be installed right alongside our WaterGuard system.
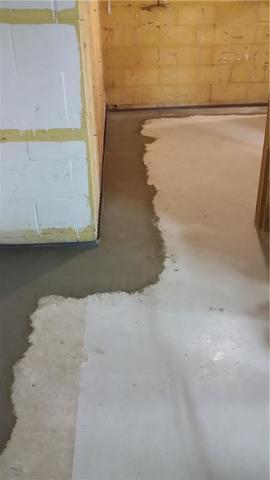
Concrete Replaced Over System
Concrete is replaced over the WaterGuard system flush with the existing floor, completing the WaterGuard installation. Once the concrete dries, the system will be almost unnoticed in the space, working behind the scenes to keep the basement dry without ever having to give it a second thought.
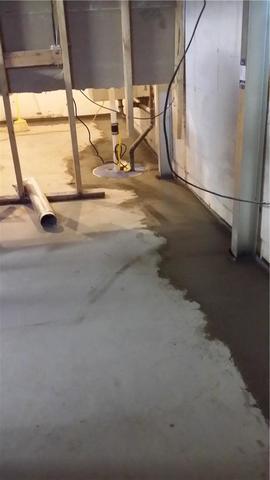
PowerBraces Incoporated Into New Concrete
For greater strength and holding power, the PowerBraces are incorporated into the new concrete.
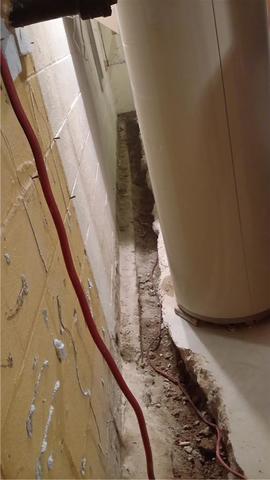
WaterGuard Is A Continuous System
We continue the WaterGuard system all along the wall. In many cases, we can work around some tight spots.
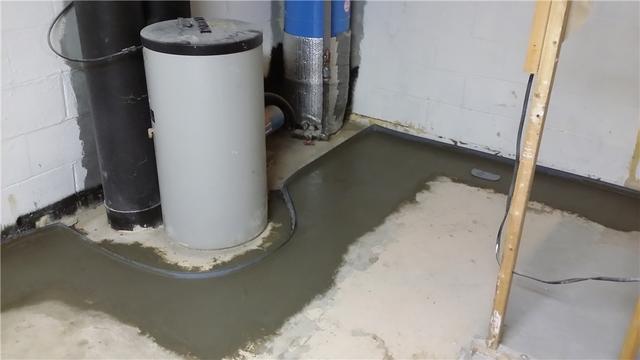
WaterGuard Installed Around Immovable Fixtures
Some fixtures are not able to be moved. In this case, we install WaterGuard around the fixtures. A FloodRing or our flow guard installed in around these items help to contain any moisture and direct it into the system along either side.
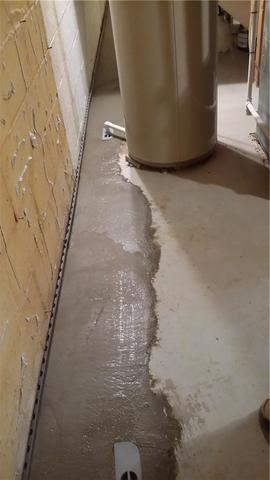
Inspection Ports Offer Advantages
Inspection ports in the system offer an opportunity to service the system easily if ever needed down the road. It also provides a unique opportunity for dehumidifier drainage as is seen in the inspection port at the top of the image.
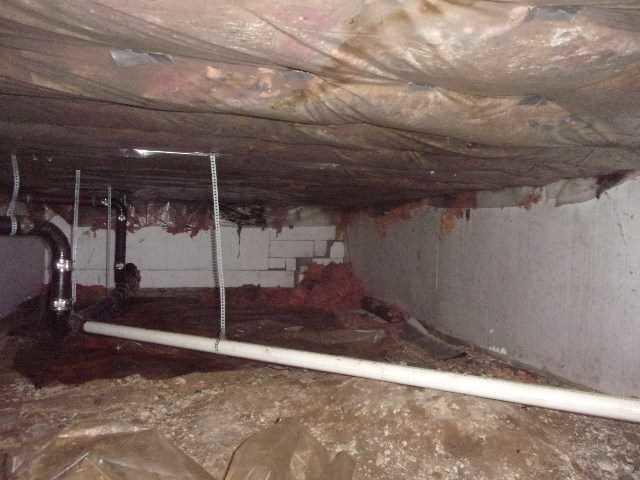
Crawl Space In Need Of Encapsulation
The crawl space was no where near as bad as many of the crawl spaces we've seen but it definitely was worth addressing and protecting.
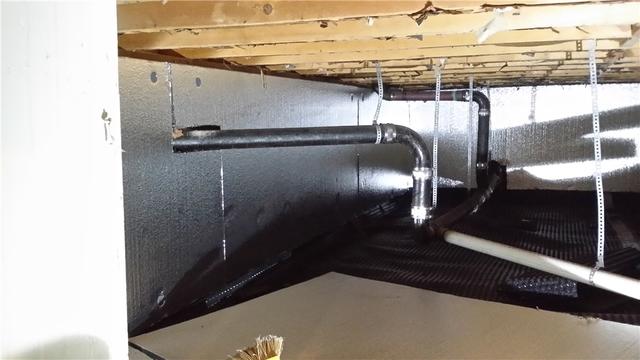
SilverGlo, Dimple Matting Installed
SilverGlo insulation is installed on the crawl space walls to help increase energy efficiency. Homeowners who insulate their crawl spaces often enjoy much toastier floors in the colder months. On the floor, dimple matting is installed to help facilitate water flow to a floor drain instead of water pooling under the moisture barrier.
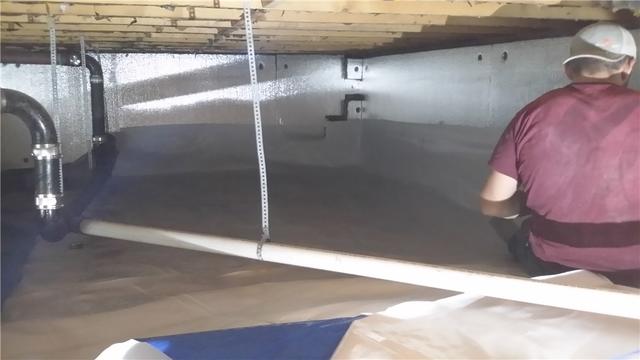
CleanSpace Material Installed
Once the SilverGlo insulation is completed on the walls, our CleanSpace moisture barrier is spread out over the floor and is secured several inches up the wall. The home is now much safer and much more prepared to handle crawl space moisture.


