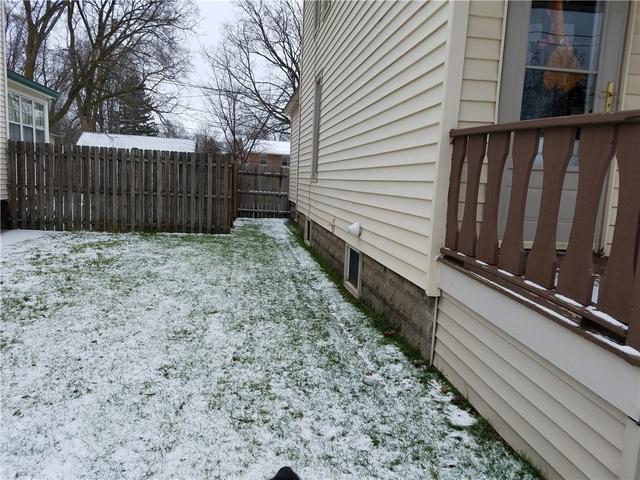
Wall Needs Waterproofing
The city put a new sewer system in by this house and ever since, there have been issues along this foundation wall with water getting into the basement. A solution was needed.
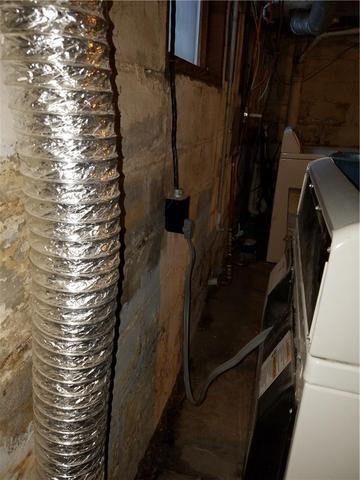
Water Entering Basement
Water was making its way in along this basement wall. You can still see some dampness along the base of the wall along the cove joint.
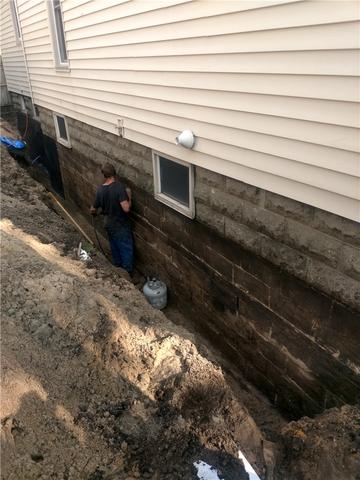
Wall Prepared and Seal Applied
The wall is cleaned and prepared and then the sentry seal is applied to the wall from the footer up to just above ground level.
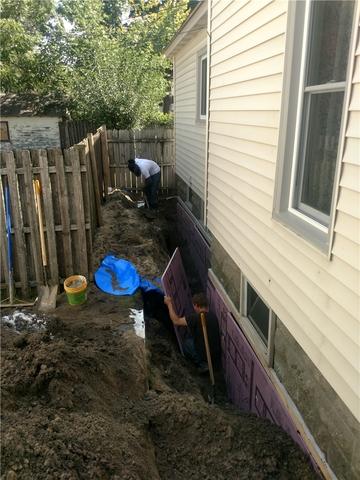
Insulation Installed.
Insulation is installed over top of the new seal before the trench is back-filled.

Trench Backfilled
Once the seal and insulation was installed, the trench was back-filled leaving minimal damage to the yard.