Before Waterproofing Transformation
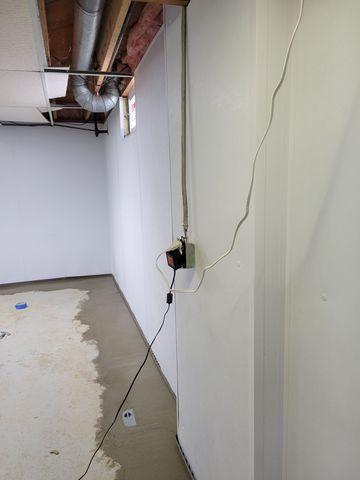
Here we have Tony's basement before the waterproofing installation. You can see the water damage all along the floor from these leaks he was dealing with.

WaterGuard Installation Process
This is a look at the installation of our WaterGuard System along the perimeter of Tony's basement. This consists of a sub-floor drainage system that will keep water and dirt away from your foundation and direct it to your drainage and sump pump system instead. Concrete will be poured over this.

WaterGuard After Installation
Now you can see the look of the WaterGuard System after concrete is poured over it. You can have regular flooring installed over the concrete if you desire a finished basement look. The WaterGuard Port is the gray port pictured here which makes service inspections quick and easily accessible.

TripleSafe Sump Pump System to Save the Day
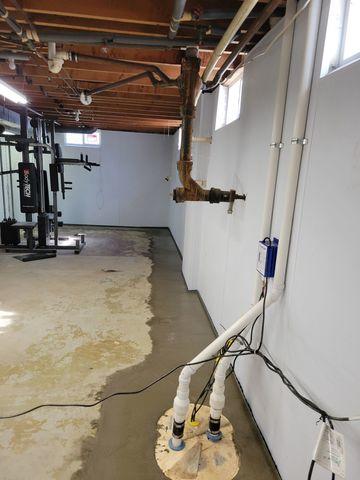
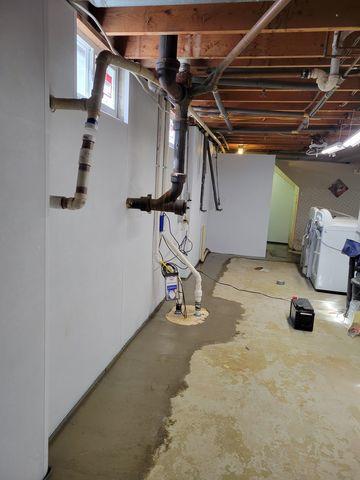
Next, our TripleSafe Sump Pump System was installed which is made of three pumps that fit in one liner, working to stop water leaks. The first pump does most of this work while the second will help with backup. The last pump will turn on in power outages because it is battery-operated.

IceGuard Installation for Further Protection
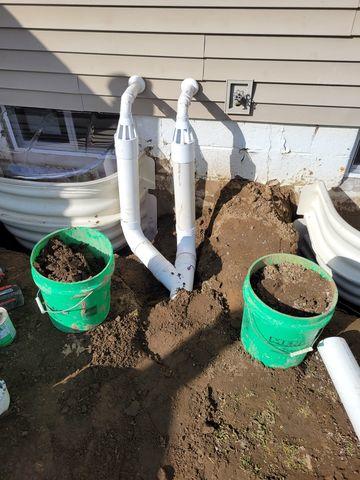
Last of all we installed our IceGuard in order to keep Tony's discharge lines outside of his home safe. It is common to see these lines freeze or clog up in the cold weather so this was a great addition for more protection.

Final Look
This is the complete look for Tony's basement after our waterproofing installations. Tony was relieved to scrap his DIY fix up jobs and have this long-lasting trustworthy system installed instead!


