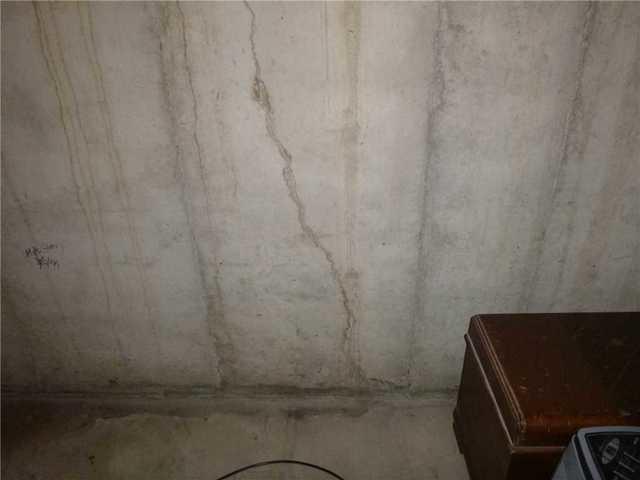
The Problem
This crack can be caused by a number of reasons, typically soil movement and hydro-static pressure exerts too much force on the foundation.
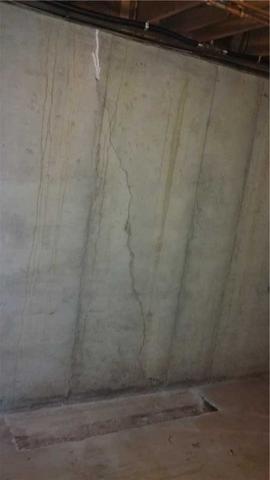
Where Will The Water Go?
A trench below the area is dug out to provide an area for potential water to drain.
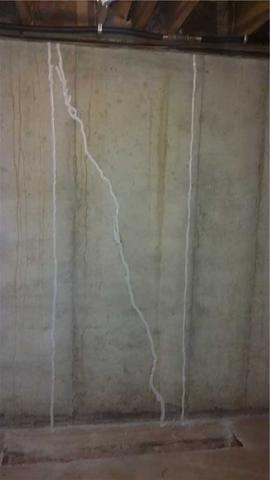
The First Step To Seal The Crack
An adhesive paste is used in place of the future FlexiSpan.
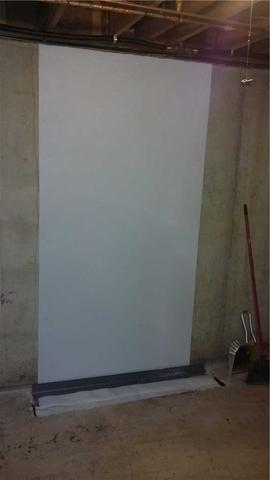
Further Protection
A white barrier and gravel is used in the trench to keep water trapped and to separate from the future cement.
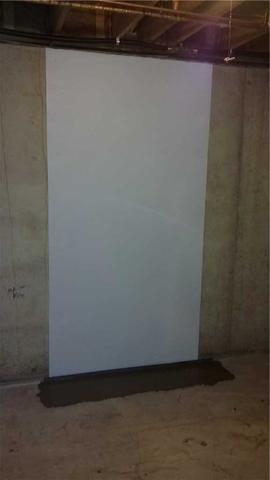
Finish It All Up
As we pour cement back onto the trench site, this area is now fully protected and will channel any water underground and out of your home.