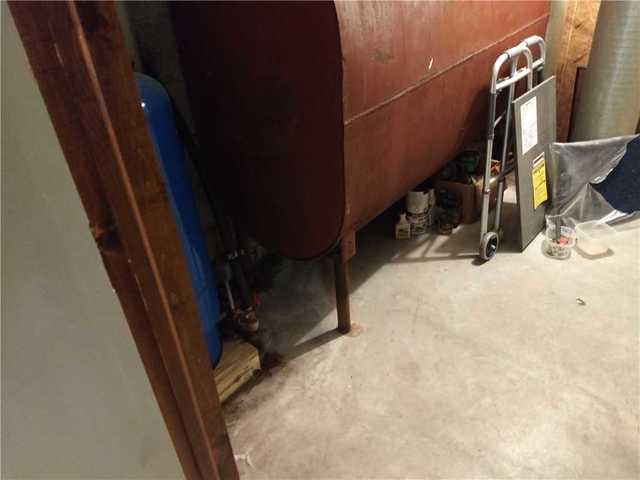
Water Leaves a Lasting Mark
Water has unarguably been puddling here in Erica's basement. The water stain on this floor is visual proof that this is indeed the case.
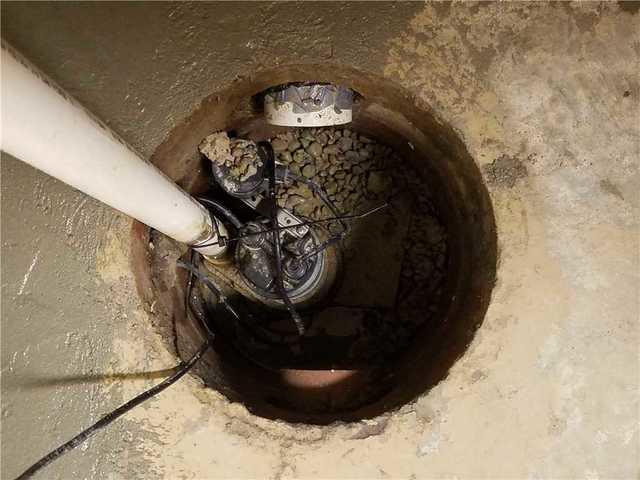
The Risk is Hidden
We discovered another issue plaguing Erica's basement was an old faulty sump pump.
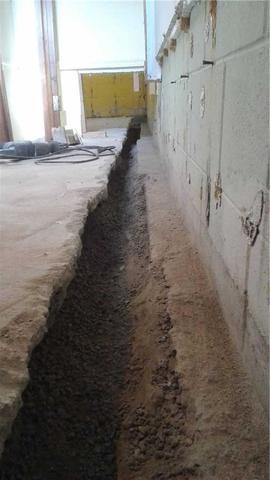
Let the Installation Process Begin
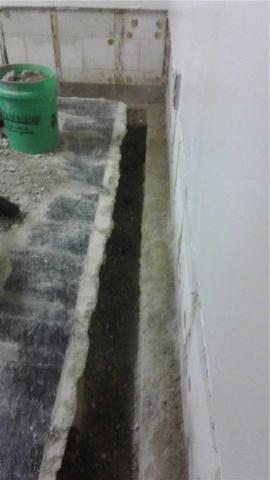
Concrete is removed at the base of the walls to expose the homes footing and to allow the installation process. Once the concrete is removed, the WaterGuard drain can be set into place.
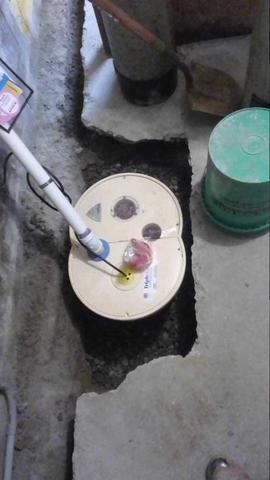
Installing the SuperSump
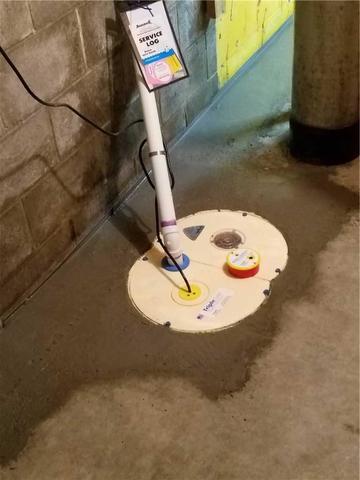
SuperSump to the rescue! The SuperSump is a sump pump system that contains an air tight lid, floor drain, pump stand, and a pump alarm. These are the essential features needed to help keep a basement dry.
The WaterGuard is Installed
After the WaterGuard drain is in place, drainage stone is filled in around it to allow for maximum efficiency.
It's Time to Cement
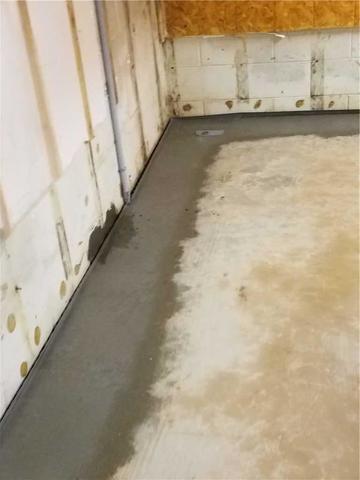
After the drainage stone has been laid, concrete is replaced over top. The wall flange creates a small gap that allows moisture from the walls and cove joint to freely flow into the drain.
It's All Coming Together
Once the concrete has been replaced, this concrete floor is once again seamless. The WaterGuard system goes virtually unnoticed and is a welcomed asset to the home. The SuperSump is level with the floor and close to the wall making it minimally invasive of the useful space in Erica's basement.
The Discharge Line is in Place
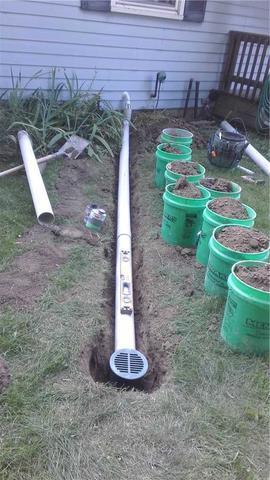
The SuperSump discharge line is installed with a Lawnscape outlet connected to the end of it, to ensure the water is directed away from Erica's home.
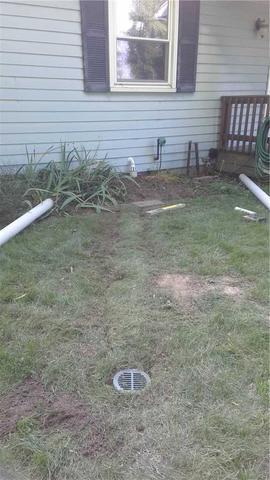
The Waterproofing Process is Complete
The discharge line is buried and the Lawnscape outlet gives water from the SuperSump the opportunity to flow away from Erica's home.


