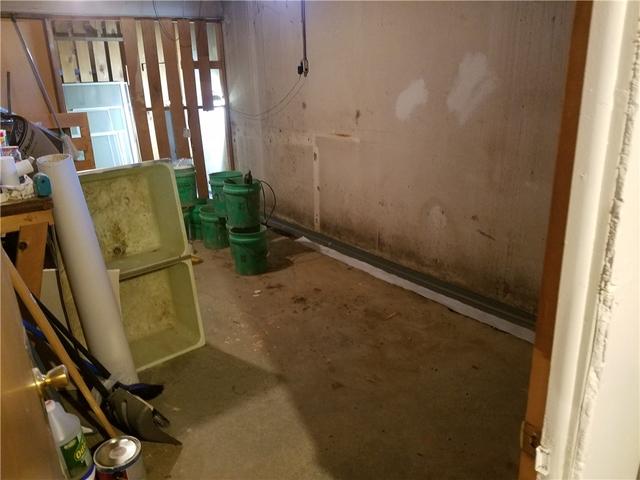
WaterGuard Installation in Progress
The heavy staining at the cove (where the walls and floor meet) points to longstanding water issues. Here, we're in the process of securing the WaterGuard in the trench.
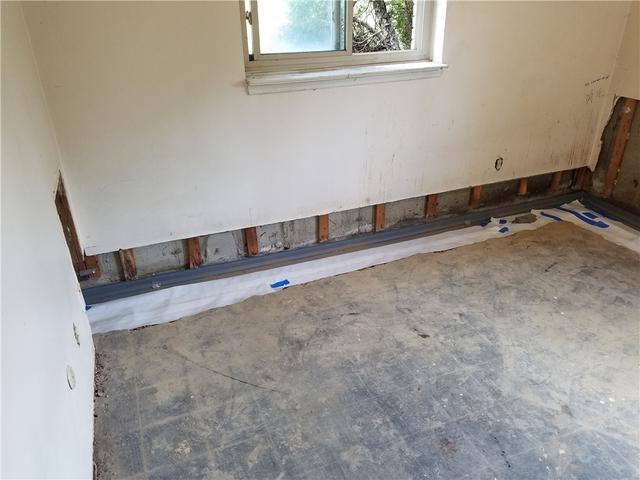
Removing Finished Walls
When the basement walls are finished (aka covered with drywall, paneling, etc), it's necessary to remove a small amount in order to access the seam of the wall and floor to remove a portion of the floor. We can't guarantee the height needed, as it varies between homes, but we work hard to minimize inconvenience.
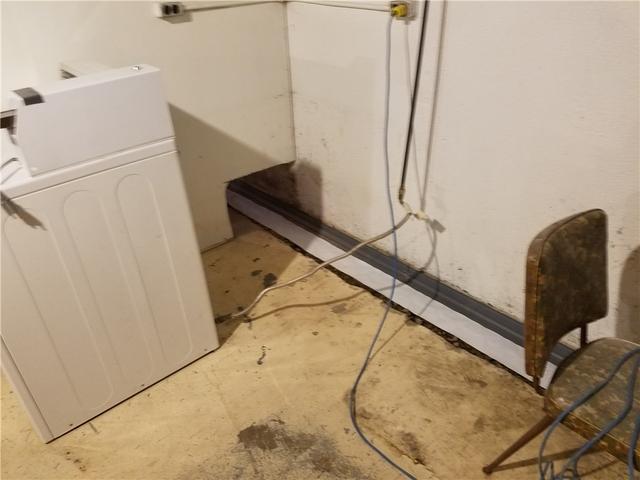
Installing WaterGuard Across Rooms
With only a small piece removed from the dividing wall, we can continue the WaterGuard track unbroken. This ensures total protection.
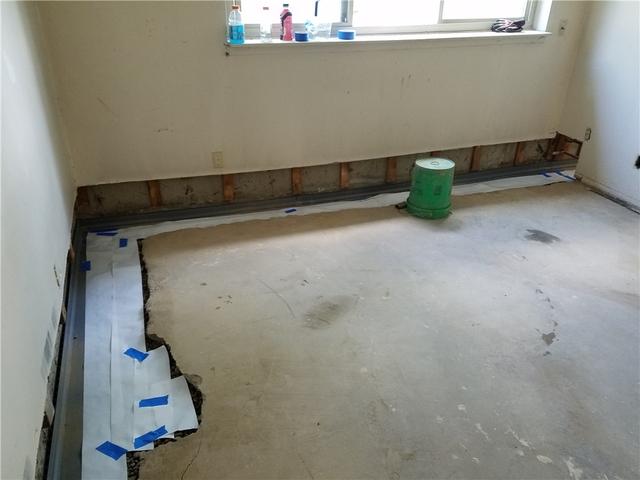
Securing WaterGuard
Special tape is used to secure the WaterGuard system before pouring new concrete.
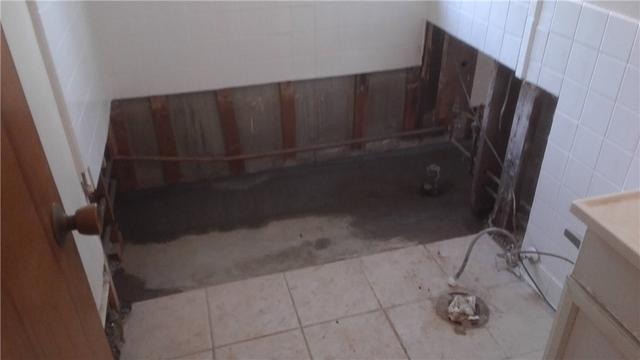
New Concrete in Bathroom
Continuing through the room, new concrete finishes off the bathroom floor.
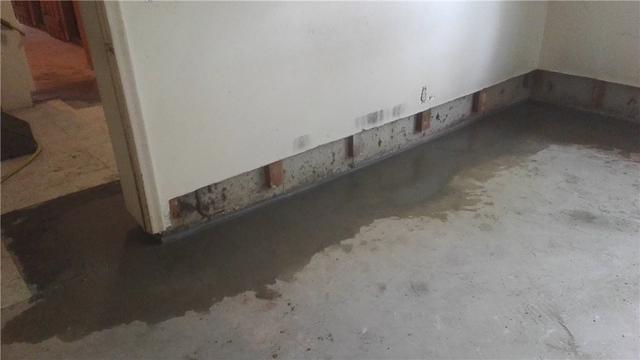
New Concrete Restores Floor
Once everything is in place, we pour new concrete to restore the floor. Once it dries, it will be almost indistinguishable from the original concrete.
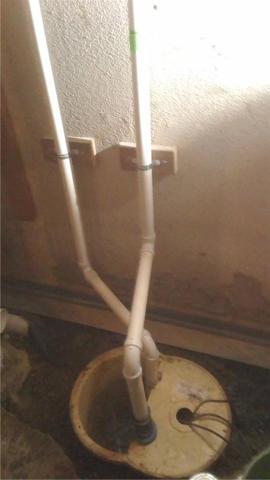
TripleSafe Sump Pump Handles High Volume
With three powerful motors and a battery backup, the TripleSafe sump pump can handle a high volume of incoming water and discharge it efficiently.
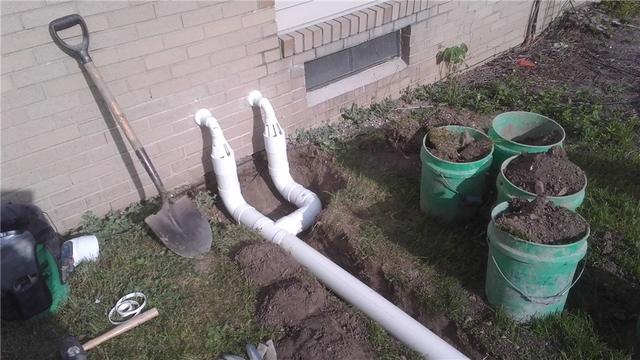
IceGuard Prevents Winter Backups
The grated caps at the base of the discharge line is our IceGuard system, which prevents backup in the event of a frozen line. Instead of flowing back into the house, water can escape through the vents.
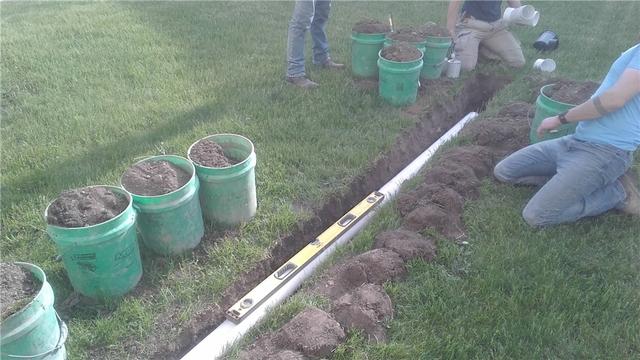
Digging the Discharge Line
We carefully remove sod and dirt to bury the discharge line, which allows us to put it back when everything is in place for minimal disruption to the lawn.
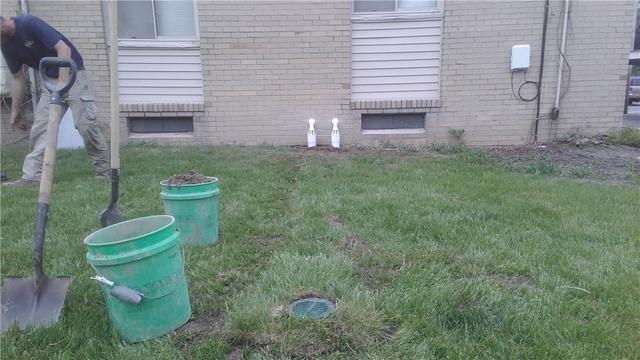
Burying the Evidence
Once the discharge line is installed, we carefully replace the removed sod to restore the lawn.


