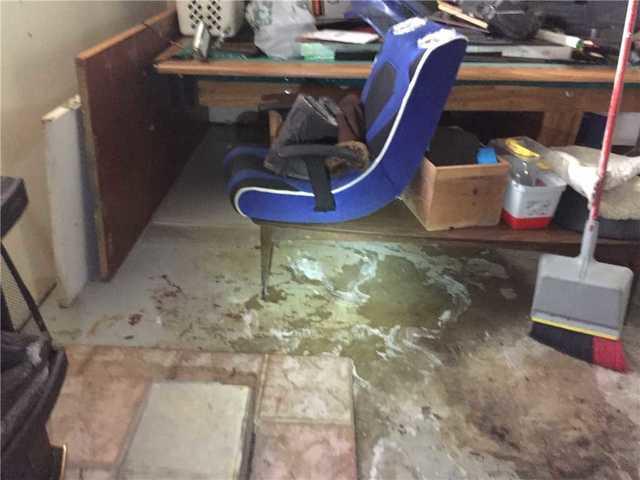
Floor Shows Signs Of Water
Water had definitely been puddling on this floor. The markings on the concrete are evidence of that. Knowing exactly where it as coming from with the finished walls was a little more difficult to discern.
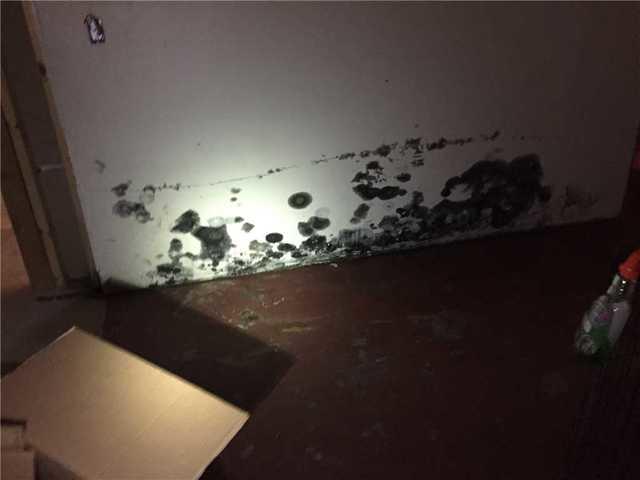
Mold Present
This interior wall had mold growth on the base of it. Likely, as water puddled along the floor, it wicked up the walls. Moisture and drywall create a great environment for mold to grow.
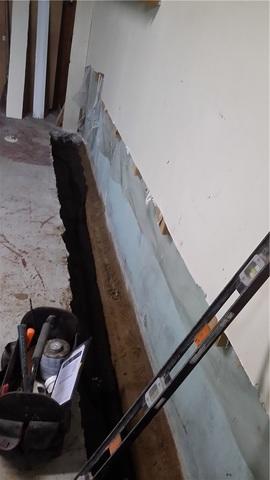
Installation Begins
The bottom of the finished walls must be cut out to install WaterGuard. Fortunately, they are easily restored and we have some great wall options for potentially wet spaces that can be used. Concrete is removed at the base of the walls to expose the home's footing to begin the installation.
Sump Pump Removes Moisture
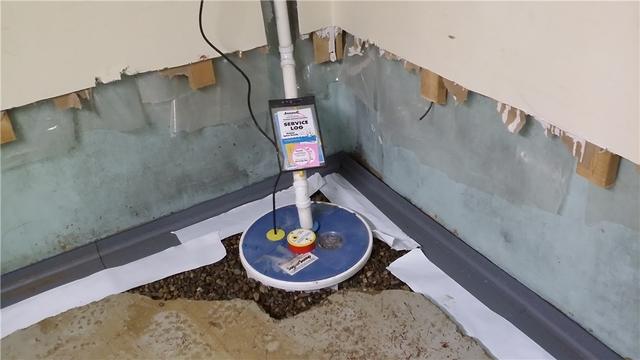
The WaterGuard system flows into a SuperSump system. The discharge line will travel along the block wall so that it can be hidden behind the finished wall. The SuperSump has an airtight lid and a WaterWatch alarm to alert the homeowner if the pump fails or isn't keeping up.
Concrete Is Replaced
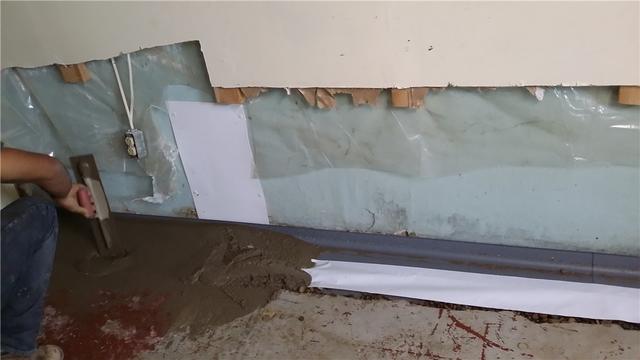
Once the WaterGuard drain is in place and drainage stone is filled in around it, concrete is replaced over top. The wall flange creates a small gap that allows moisture from the walls and cove joint to freely flow into the drain.
Finished System Is Seamless
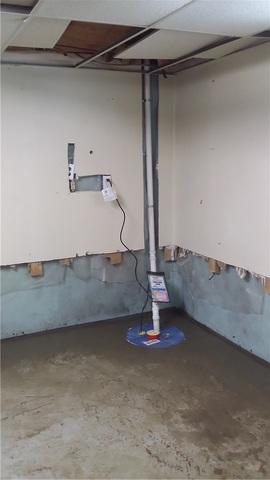
Once the concrete is replaced the concrete floor is once again seamless. The WaterGuard system goes virtually unnoticed and the sump pump is level with the floor making it fairly out of site.
IceGuard And Lawnscape Outlet Aid In Water Removal
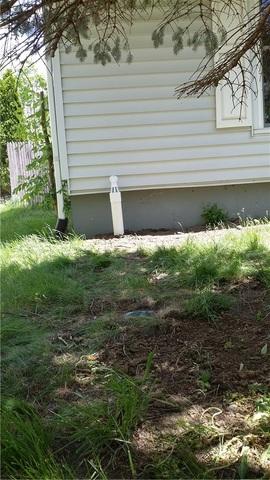
The IceGuard fixture just outside the home along the discharge line creates an escape for water exiting the system in the event that the discharge line freezes and becomes blocked in the colder months. The LawnScape outlet in the lawn creates an outlet the blends into the lawn and is easy to mow around.


