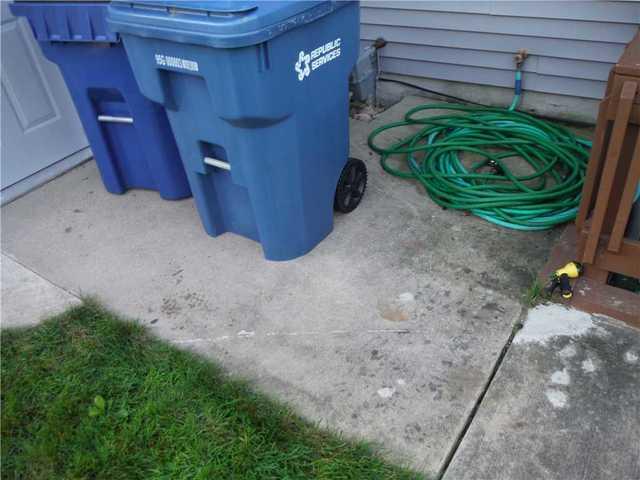
Bygones
Time to say goodbye to this old, stained concrete slab. We will be installing LawnScape underneath a new slab.
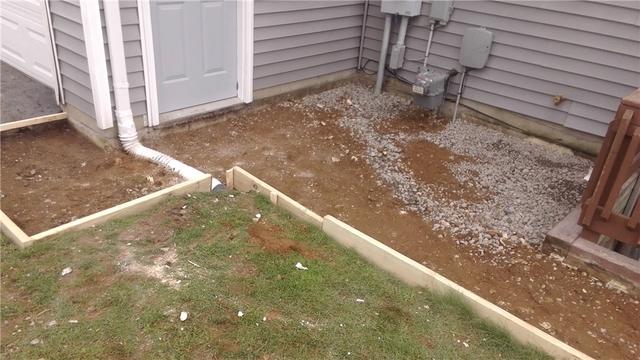
Slab Preparation
Before we can pour the new slab and install the LawnScape, we have to prep by carefully "fencing off" the area.
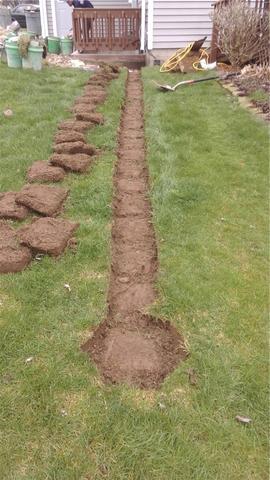
Pre-LawnScape
Before the LawnScape outlet can be placed into the ground, a perfectly-fitting path is dug for it.
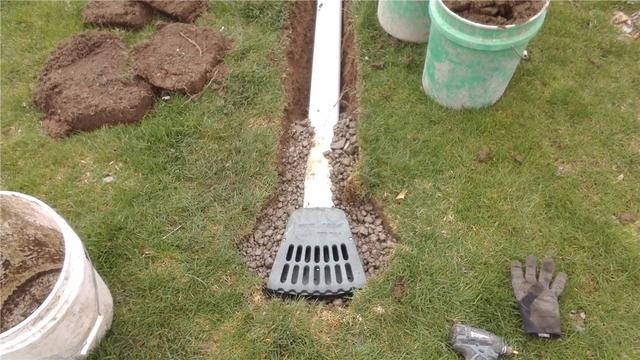
LawnScape 101
Here, our team has installed the popular LawnScape outlet. The only thing left to do is bury the pipe.
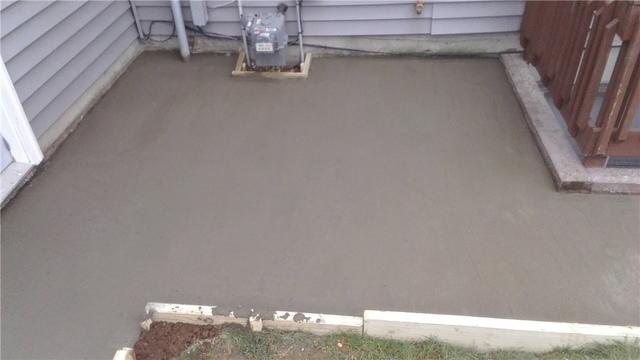
Clean Concrete
Don't you just want to touch it? Fresh concrete was poured to replace the previous slab.

Slab Complete
Now that the LawnScape outlet is installed and the concrete is dry, our project is complete.