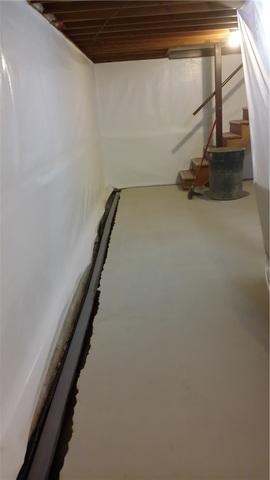
Installation Begins On WaterGuard System
To begin installation of the WaterGuard System, a small trench is jackhammered along the perimeter walls revealing the home's footing. The WaterGuard drain is set in place along the footing of the home and is tied into a sump pump at the end to remove any water from the home that is captured by the drain.
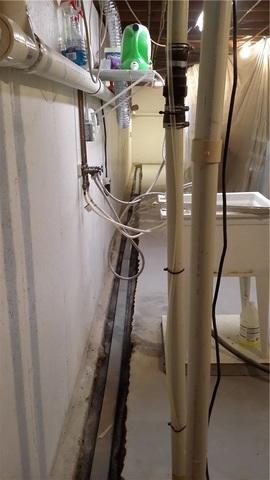
WaterGuard Spans Full Perimeter
Wherever we have access to jackhammer the concrete and expose the footing, we can install the WaterGuard drain. This may involve moving washer and dryer units or utility sinks. For the things that we can't move, we can put flood rings around them to contain moisture and guide it into the WaterGuard drain to either side of the fixtures, so that the whole basement remains protected.
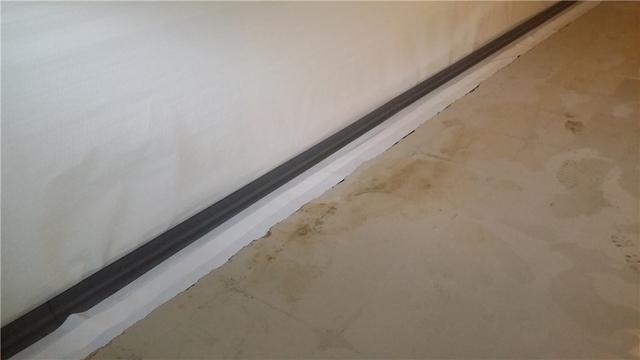
Floors Prepared For Concrete
Once the WaterGuard drain is in place, drainage stone is filled in around it and the trench is prepared for new concrete over top. The drain will go virtually unnoticed aside from the tiny gap created along the base of the wall to collect moisture into the drain.
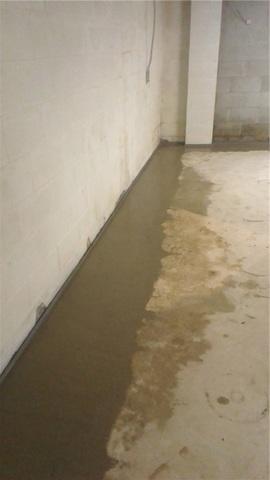
Concrete Is Replaced
Once the WaterGuard is in place and drainage stone is leveled off around it, concrete is replaced over top. Once the concrete dries, you hardly even notice that the concrete was ever removed, and especially not in this case because plank flooring is being installed over top.
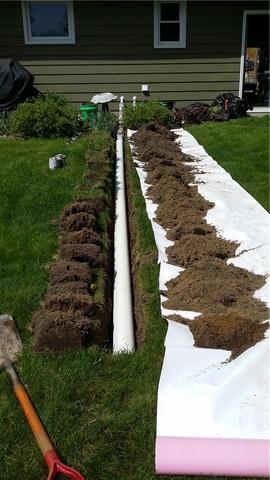
Minimal Damage To Lawn
The discharge line is dug out in such a way that the damage to the lawn is minimized. Once the pvc is in place, the trench is back filled and grass is replaced over top. Dirt is placed on buckets or plastic material during the digging process to keep it out of the existing lawn.
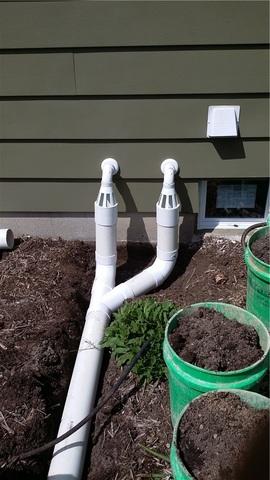
IceGuard Protects Against Backups
During the colder months, there is a possibility that any moisture that moves through the discharge lines could freeze,. potentially stopping water flow and creating a backup into the home. The IceGuard fixtures along the home, creates an escape for that moisture to prevent those backups.
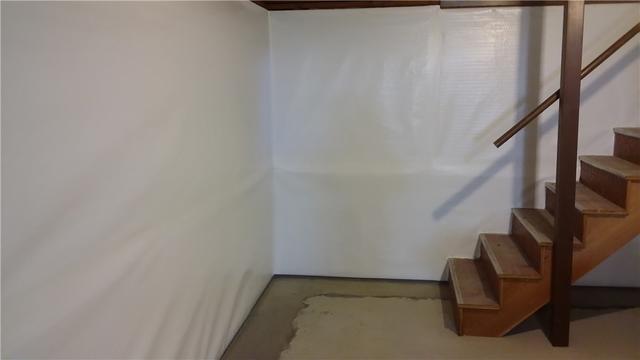
CleanSpace Material Covers Walls
Our CleanSpace material was installed on the walls prior to the concrete being replaced. This material is very strong and creates a bright surface to lighten up the space. Any moisture coming in from the walls can travel down the wall behind the material and into the WaterGuard system without ever being noticed. CleanSpace is also mold and mildew resistant.
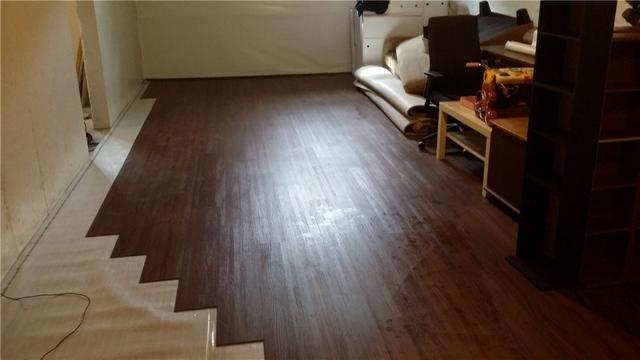
Joints Are Staggered
Like any wood plank flooring, we stagger the joints so that the floor looks its very best.
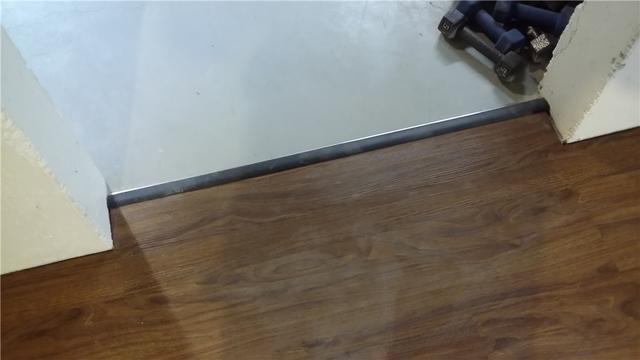
Smooth Transition Between Floors
A transitional piece along the edge of the flooring in this doorway creates a smooth transition between floors so that the floor looks complete and tripping hazards are eliminated.
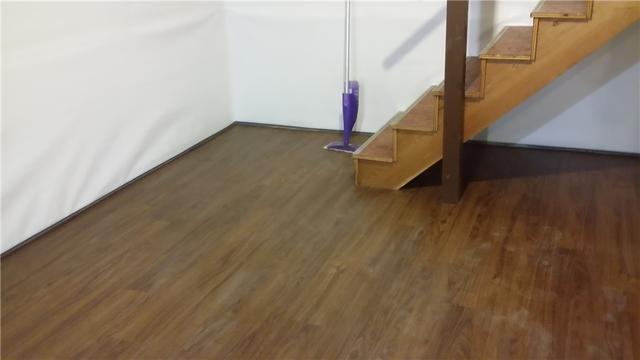
Finished Floor Looks Great
The finished floor fits nicely around the stairwell. It looks as if the floor was here all along.

Finished Floor A Great Addition
The finished floor will make this space feel much more comfortable. It's a huge upgrade from the concrete floors.


