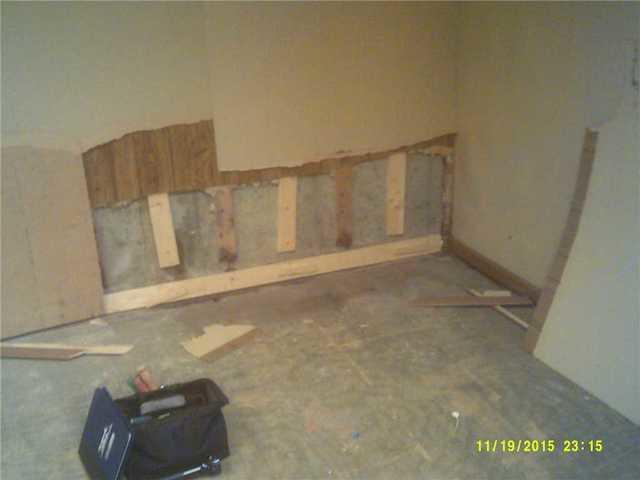
Wet Basement Leads To Wall. Floor Removal
This homeowner was not sure where the water was coming in from exactly. In trying to fix the problem, parts of the wall were removed as well as the carpeting. Even a small amount of water can be a huge problem in a finished basement.
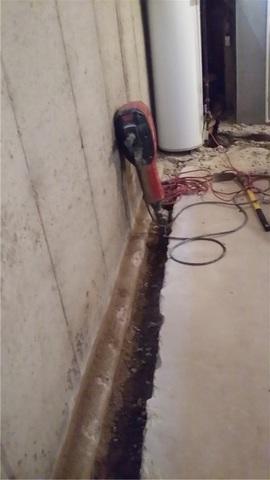
WaterGuard Installation Begins With A Jackhammer
The WaterGuard system is installed right on the home's footing. This requires removal of concrete around the perimeter of the basement. The system will be set in place and then the concrete will be replaced aside from a small gap along the base of the wall.
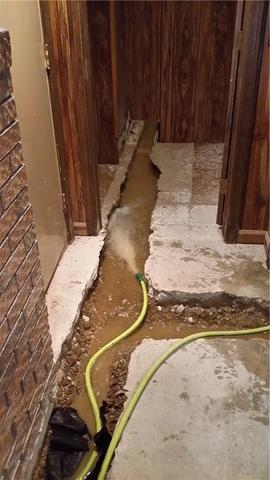
System Is Flood Tested Before Install Is Completed
Using a hose to flood test the system can help determine a low place to put the sump pump system. In cases where we create a new low spot, the system is tested to ensure that water flows to the proper place. This way we avoid problems with the installation so that it's done right the first time.
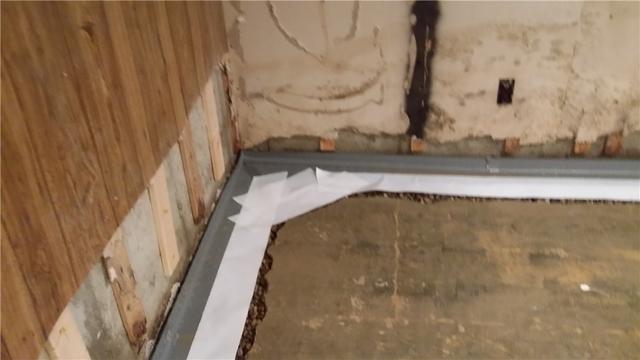
Excavated Area Prepared For Concrete
The WaterGuard system is put in place and then clean crushed stone is filled in around the drain. Concrete is then replaced over top of the system to create a seamless floor once again.
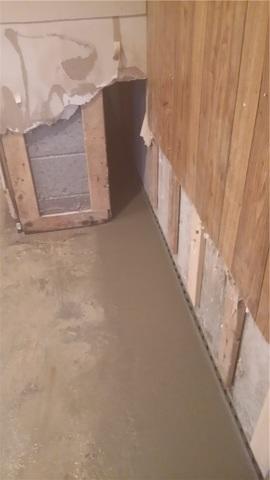
WaterGuard Is Continuous Throughout Basement
The WaterGuard system is installed along perimeter walls in one connected unit. Minimal amounts of the wall and framing have to be removed for installation making repairs to the walls and framing as simple and easy as possible so that you can get back to enjoying your basement quickly.
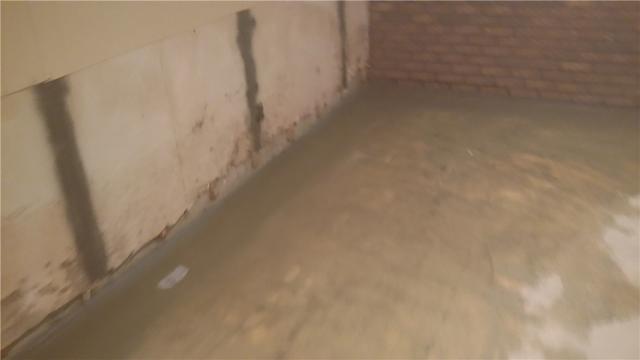
Inspection Ports Allow For Easy Maintenance
The inspection port on the left is a small inconspicuous part of the installation to provide for easy maintenance of the system over time.
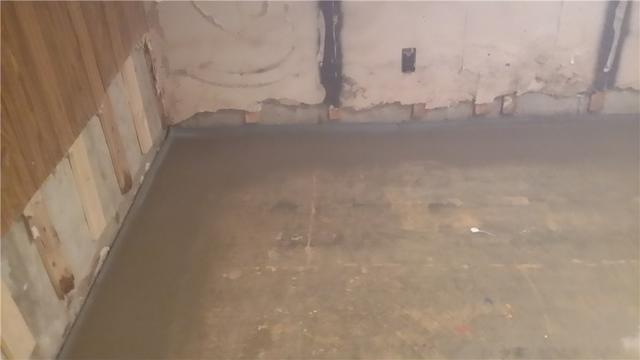
Concrete Is Replaced Over The WaterGuard System
Once concrete is replaced, the drainage system goes almost completely unnoticed. The floor appears seamless as if we were never there.
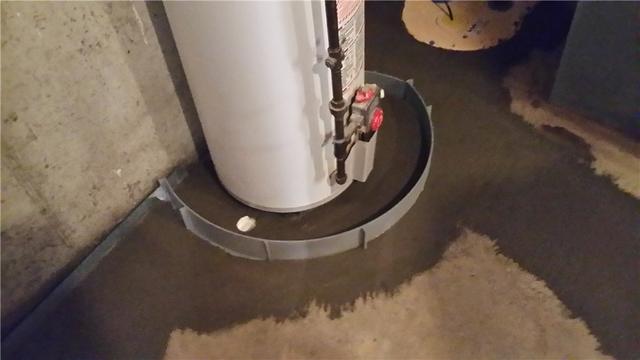
Flood Ring Helps Contain Water Heater Leaks
A flood ring was epoxied to the floor around the water heater. This helps to make sure that any moisture that comes in from the wall behind the water heater is directed into the WaterGuard system as well as any water leaks from the hot water heater.
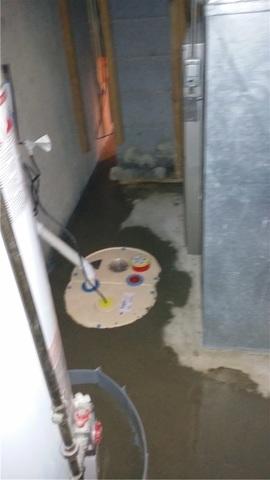
Sump Pump Installed In Narrow Space
The sump pump was installed between the wall, furnace, and water heater. Though narrow, our team was able to install the sump pump where it would be out of the way and not cut into any usable basement space.
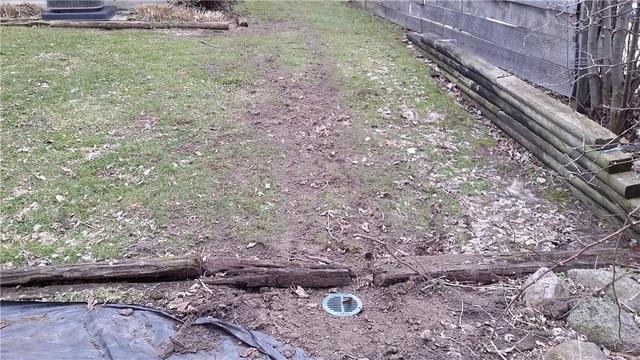
LawnScape Outlet Blends Into Lawn
The sump pump runoff is directed safely away from the home and a LawnScape outlet in the yard creates an escape for the moisture without standing out. It's also easily mowed around.
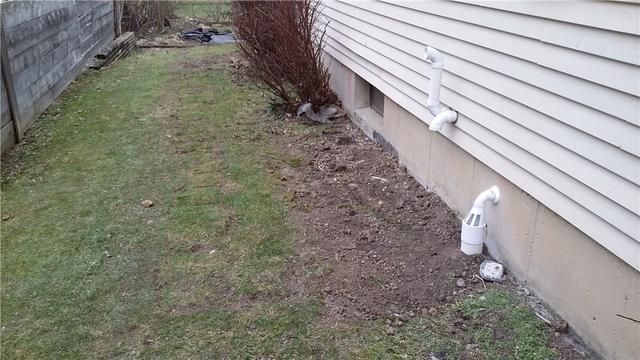
IceGuard On The Sump Pump Protects From Flooding
At times during the winter months, ice may possibly build up in the sump pump discharge lines. To avoid water flowing back into the home, we install an IceGuard fixture near the home. This creates an escape for the water in the the event that the lines are frozen.


