Signs of Water Issues
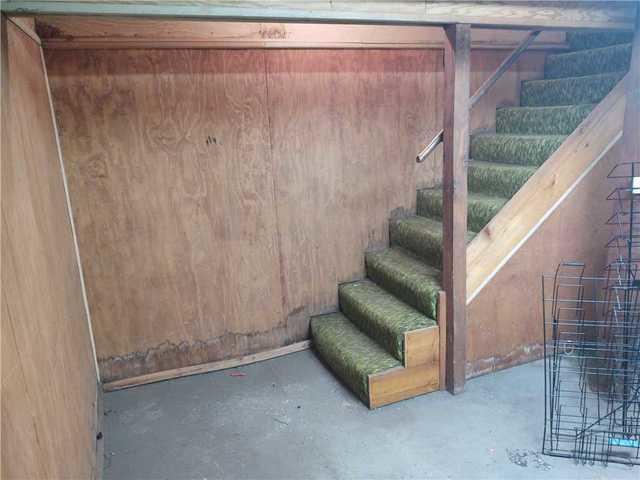
As you can see by the stairs, the wood wall is a different color and looks as though the wall is starting to bulge at the floor. This is a sign that there is water leaking into the area but no worries, it is an easy fix!
First Step to a Dry Basement
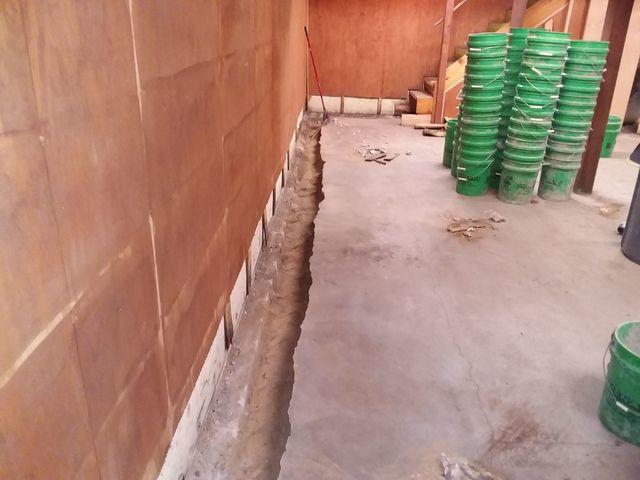
After the crew cuts into the walls, they dig the 'trench' where the drain will be placed. The trench allows the drain to be installed under the floor and it will be covered up so you can not see it once the project is done.
Installing the Drain System
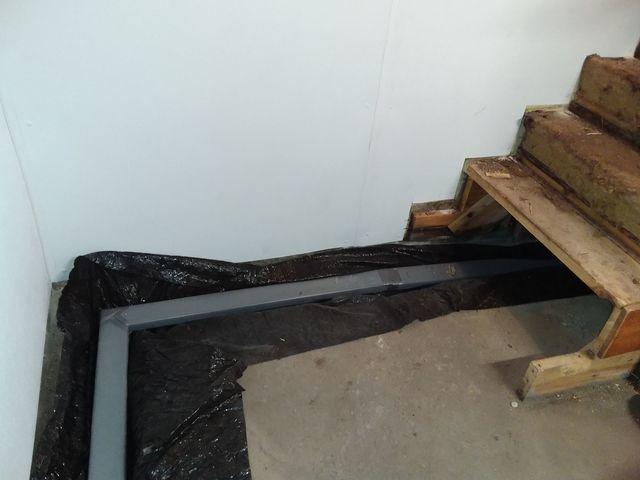
This is what the WaterGuard system looks like once it is all put into place. This will collect the water that seeps in through the walls of the basement and drain it to the sump pump to keep the basement dry!
All Set and Ready to Go
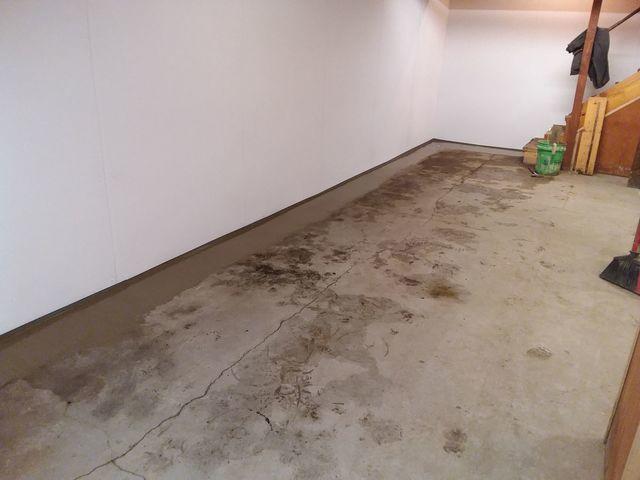
This is the aftermath of the waterproofing project. The drain is covered up by concrete and once it dries the basement will look like it did before the project began. The old wood walls are now covered with our BrightWall system which is made of plastic and acts as a vapor barrier for the basement. The white helps to give the area a nice clean, bright look!
Keeping the Basement Dry
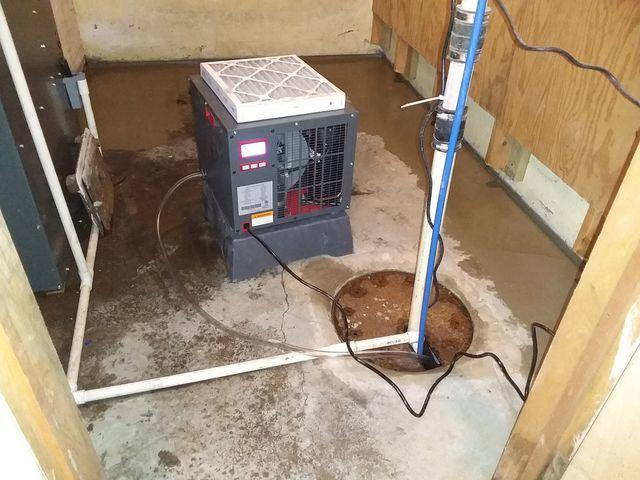
This is the SaniDry Sedona Dehumidifier which small size takes up minimal space in your basement. It has a powerful blowing motor that keeps dry air circulating throughout the space, aggressively drying out your basement and the collected water can be drained into the sump pump pit or a section of your perimeter drain.


