Bowing Wall in Lansing Basement
Note how far a section of the wall on the left side of this photo is leaning. Bowing walls are dangerous and can collapse, leaving your home in danger.

Wall Cracks in Bowing Wall
Both horizontal and stair step cracks are visible in this section of the bowing wall, which began to bow when tree roots in the ground outside expanded and placed pressure on the wall.

DIT Crack Fix Doesn't Last
People try many things when their foundation walls develop cracks, from foam crack filler like what's shown here, to bracing 2x4s against the wall. None of these are permanent fixes or true solutions.

Side Angle of Bowing Wall
The lean of the wall is more noticeable from this angle. Walls can only bow or lean so far before they're in danger of collapse.

Severe Water Damage in Basement Corner
The water is so bad in this part of the basement that it's completely worn off large sections of the paint. Peeling and bubbling paint is actually an early sign of water coming through walls.

Ineffective Floor Drain
This small floor drain (there are a few of them throughout the basement) is just not enough to keep up with the amount of water in the basement.

Severe Water Damage Under Stairs
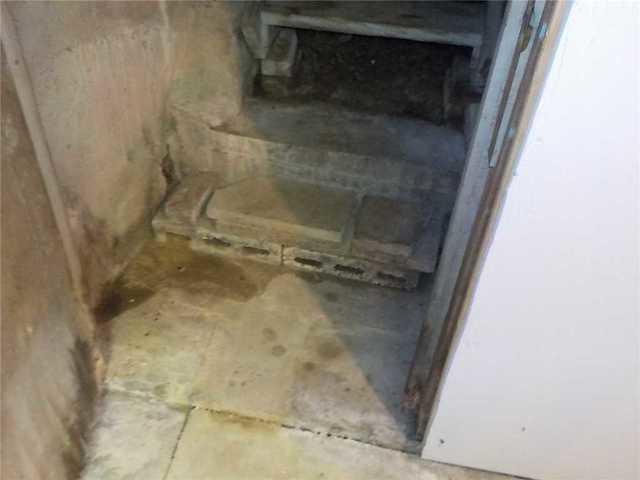
In addition to the water damage on the floor underneath the stairs, the steps themselves show signs of water damage. Wood rot is a real concern in cases like this.

High Water Influx in Doorway
Doorways are often a point of water accumulation.

Water Staining Throughout Basement
There's evidence of water coming through the walls and floor throughout the basement.

Installing the Sump Pump
The sump pump is tied into the WaterGuard system and attached to a discharge line to send the water directly outside.

PowerBraces Stabilize Bowing Wall
The PowerBraces are cemented into the ground and bracketed to the joists to provide security to the wall. Over time, they can be tightened to hopefully even straighten the wall.

PowerBrace Secured to Joist
A special bracket attached the PowerBrace to the joist.

Removing the Floor for WaterGuard Installation
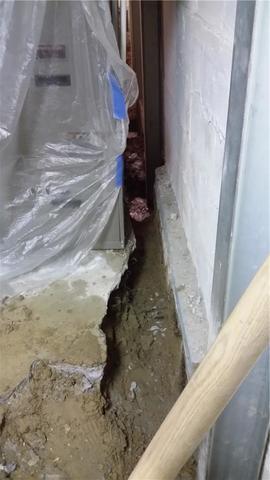
We jackhammer out a perimeter of the floor in order to install the WaterGuard system.

WaterGuard Installation in Progress
Here, WaterGuard track and a section of TrenchDrain are put in place.

TrenchDrain Controls Heavy Water Flow
The TrenchDrain system features wide grates for quicker water collection and is tied right into the WaterGuard so the water is sent to the sump pump.

New Concrete Restores Floor
Once everything is in place, we pour new concrete to restore the floor.

Sump Pump Ready for Action
The sump pump is ready for any water collected by the WaterGuard system and will evacuate it via the discharge line shown.


